Annotations
 Updated
by Russell B.
Updated
by Russell B.
You can effortlessly incorporate various annotations into a Studio sketch, such as text, lines, arrows, rectangles, ellipses, and free form lines. Additionally, you have the option to fill in certain annotations and modify line colors or widths.
![]() If the annotation options are greyed out, you need to enable annotations in the view menu. For assistance, see our Level properties document.
If the annotation options are greyed out, you need to enable annotations in the view menu. For assistance, see our Level properties document.
Add lines, arrows, and free form lines
Add text
Text annotations are added by following the steps below.
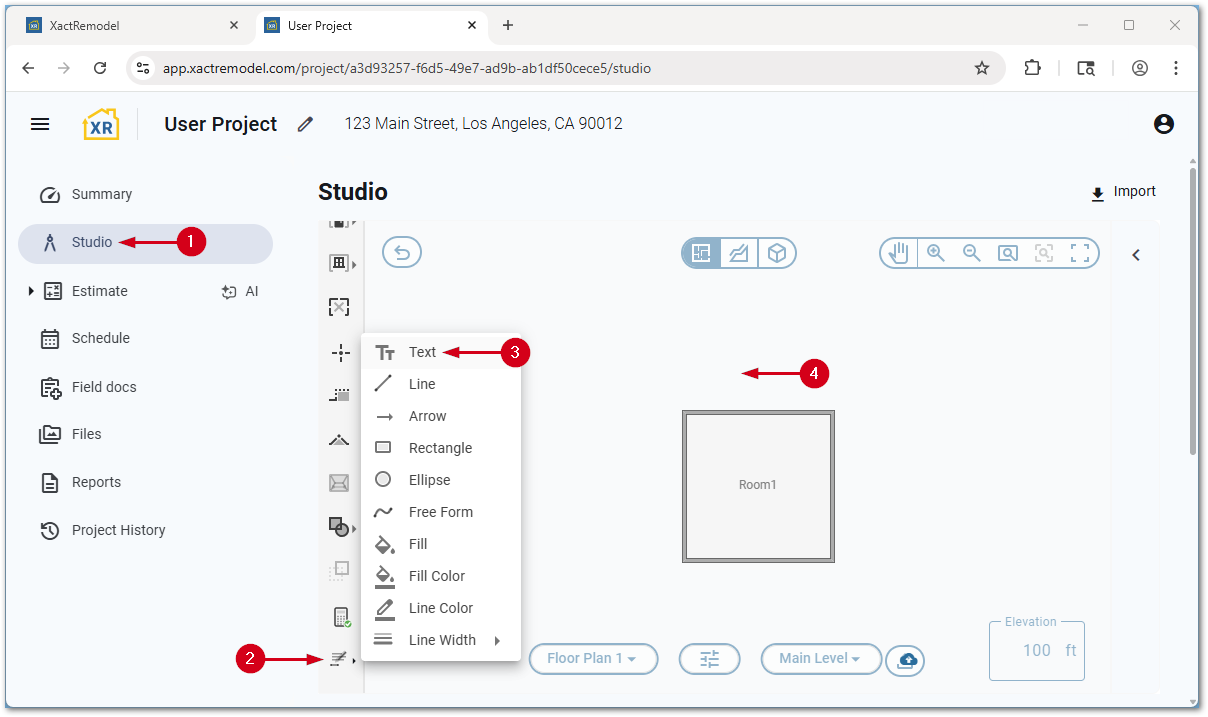
- Within a project, select Studio.
- Select the Annotation icon.
Note: You may need to scroll down in the tool list.
- Select Text.
- Select where you want to place the text annotation.
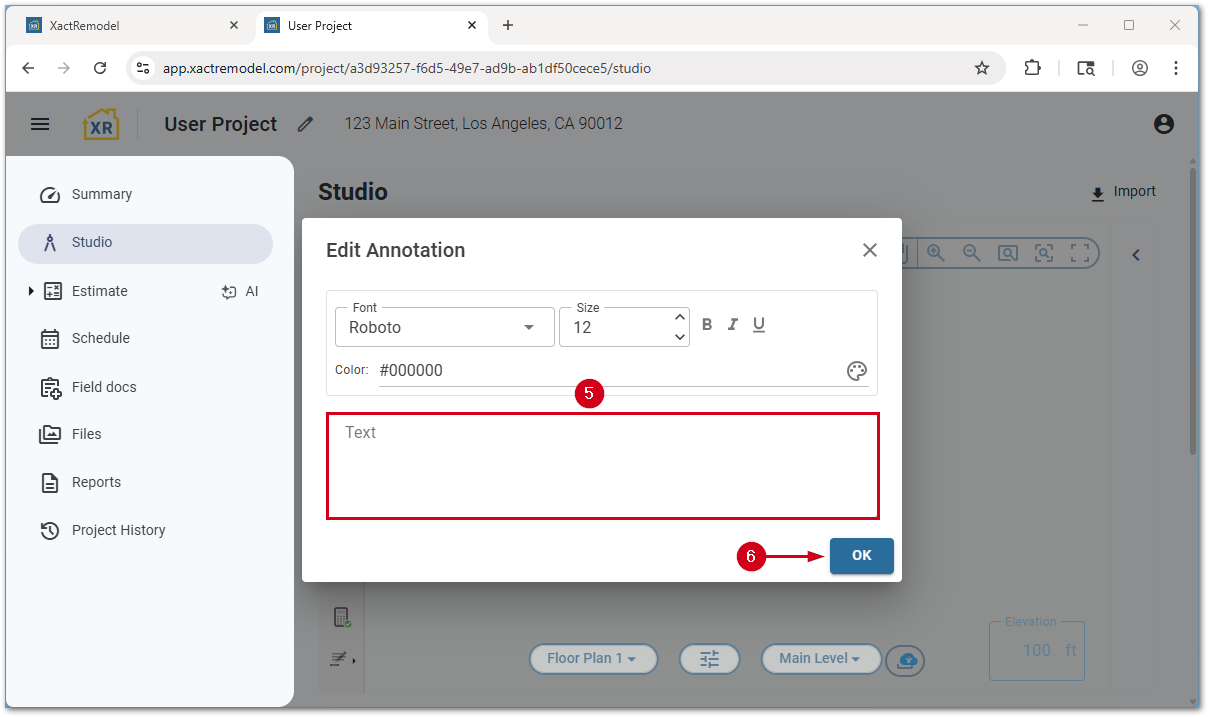
- Enter the desired text annotation in the Text field.
- Select OK. The text annotation is added to the Studio pane.
Note: Before selecting OK, you can change the font, size, style, and color. Once the annotation is placed, it can be rotated if desired. For assistance, see our Rotate an object document.
Add lines, arrows, and free form lines
Line, arrow, and free form line annotations are added using the steps below.
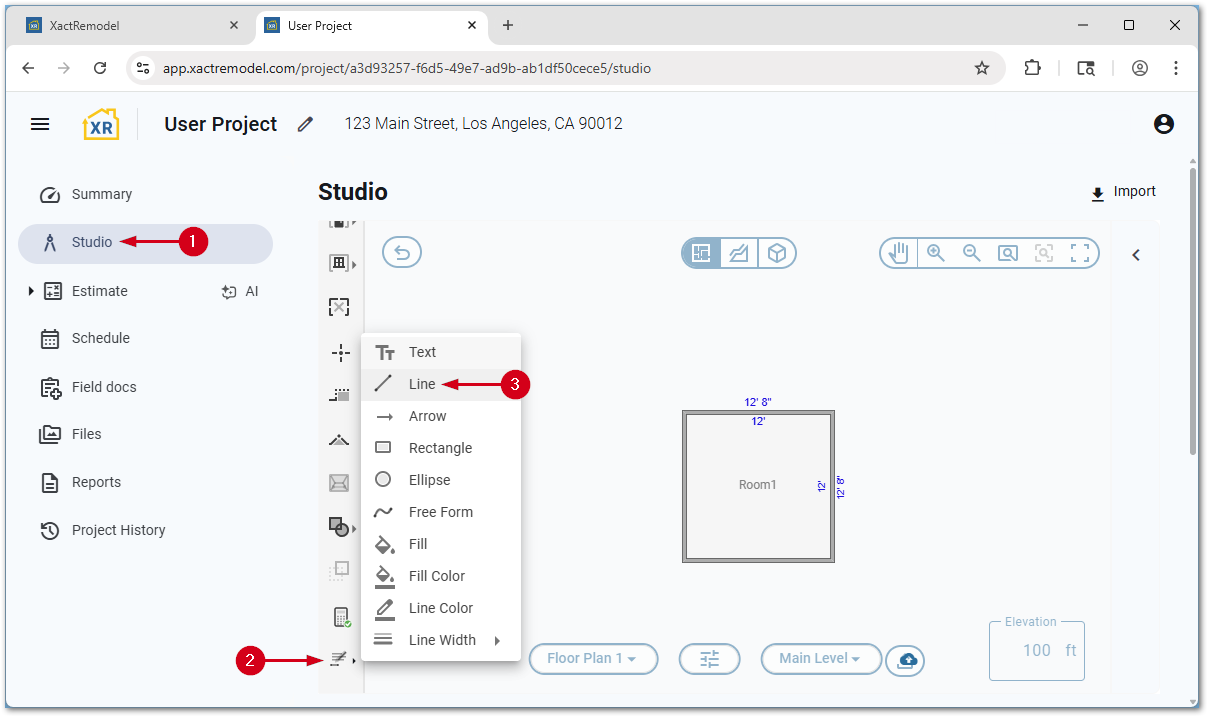
- Within a project, select Studio.
- Select the Annotation icon.
Note: You may need to scroll down in the tool list.
- Select Line, Arrow, or Free Form.
Note: If you want to change the line color or width, do so first. In the following steps, a line is demonstrated, but the process is the same for arrows.
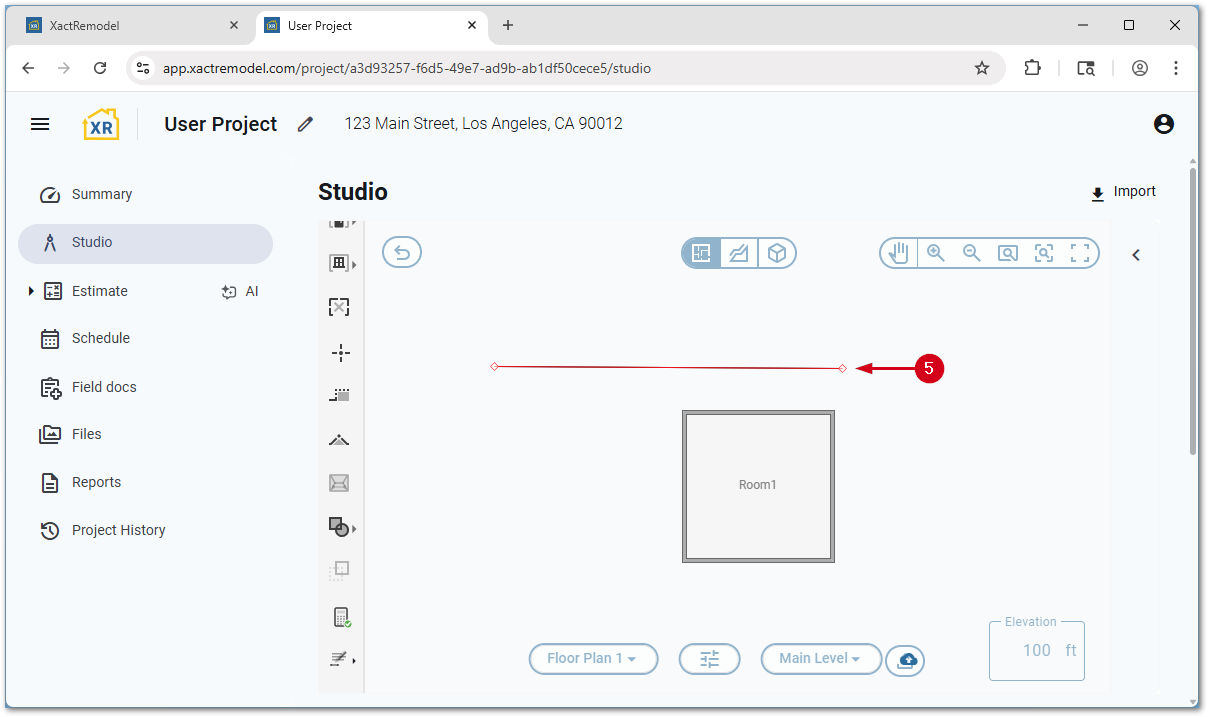
- Select and drag to place the line or arrow.
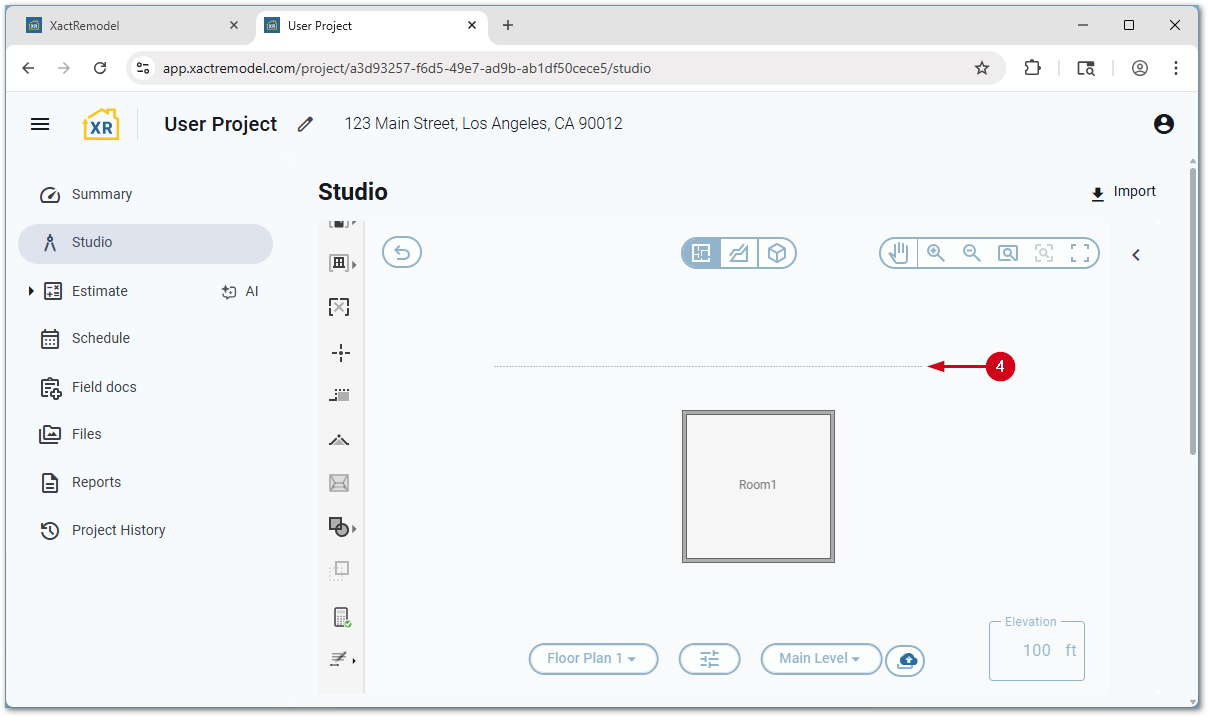
- Once the line is the desired length, let go of the mouse. The line is placed on the Studio pane.
Note: If placing an arrow, the arrow is at the far side. Once the annotation is placed, it can be rotated if desired. For assistance, see our Rotate an object document.
Add rectangles and ellipses
Rectangle and ellipse annotations are added using the steps below.
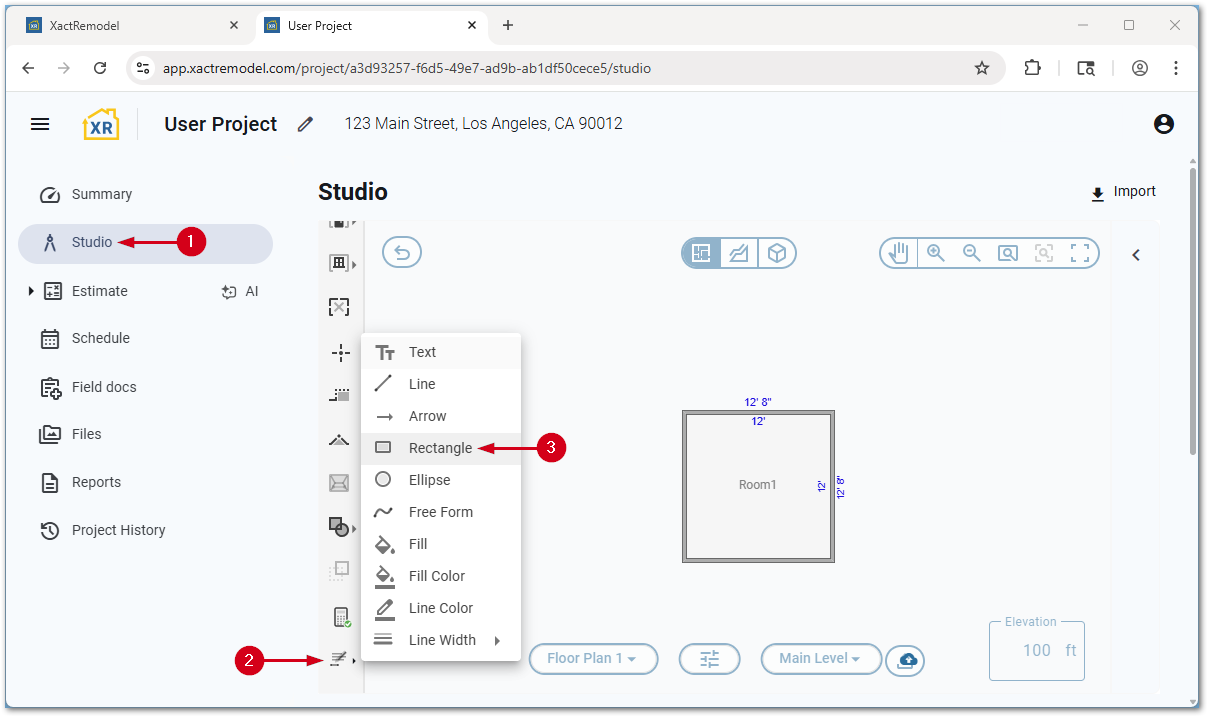
- Within a project, select Studio.
- Select the Annotation icon.
- Select Rectangle or Ellipse.
Note: If you want to change the line color or width, do so first. In the following steps, a rectangle is demonstrated, but the process is the same for arrows.
- Select and drag to place the rectangle or ellipse.
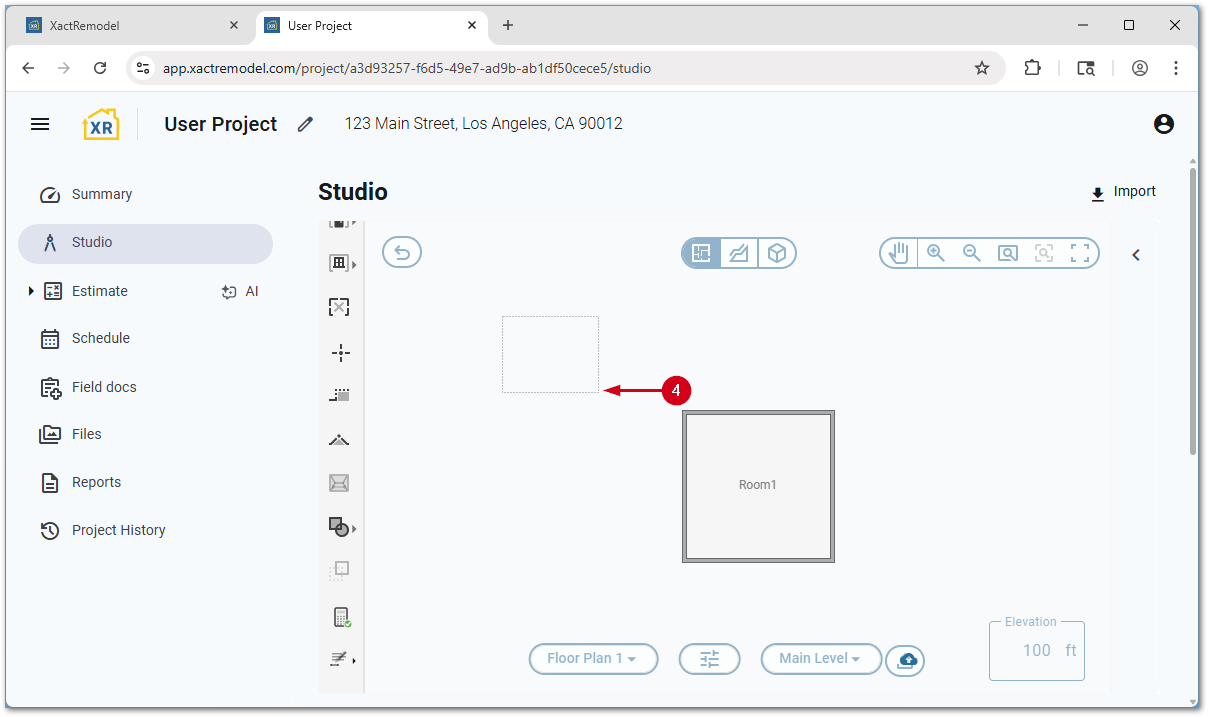
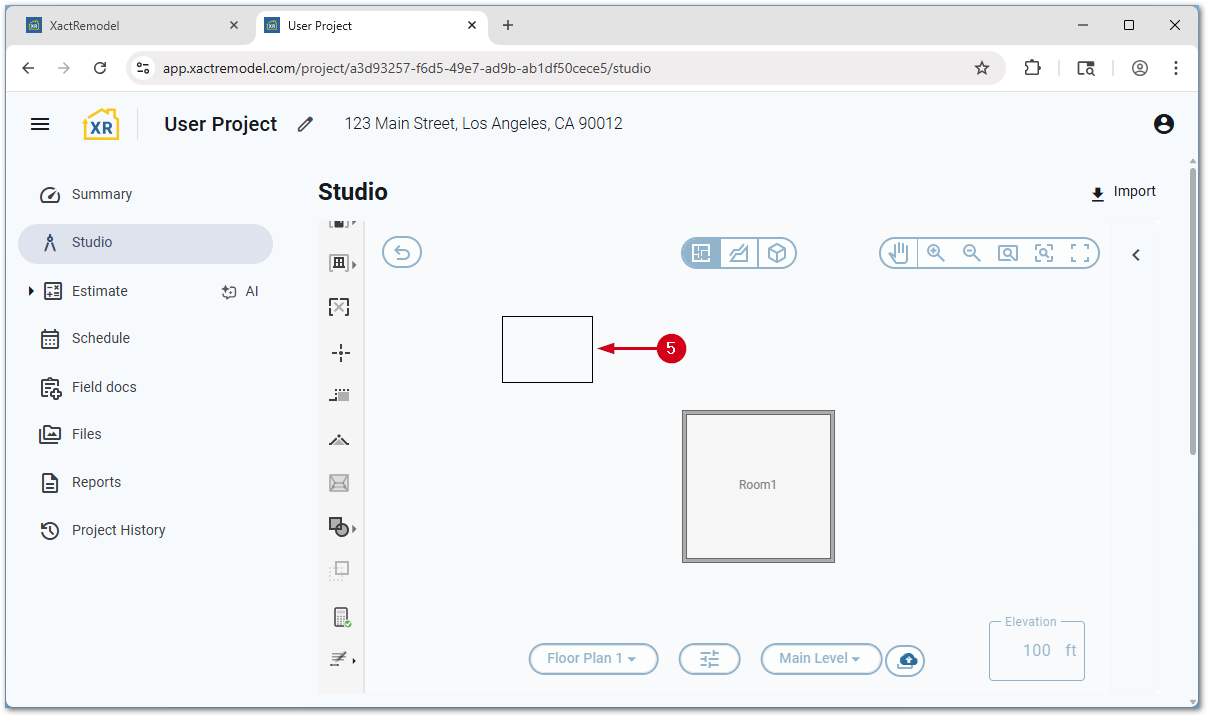
- Once the rectangle is the desired length, let go of the mouse. The rectangle is placed on the Studio pane.
Note: Once the annotation is placed, it can be rotated if desired. For assistance, see our Rotate an object document.
Note: You may need to scroll down in the tool list.
If you want to fill in a rectangle or ellipse, follow the steps below.
- Select the Annotation icon.
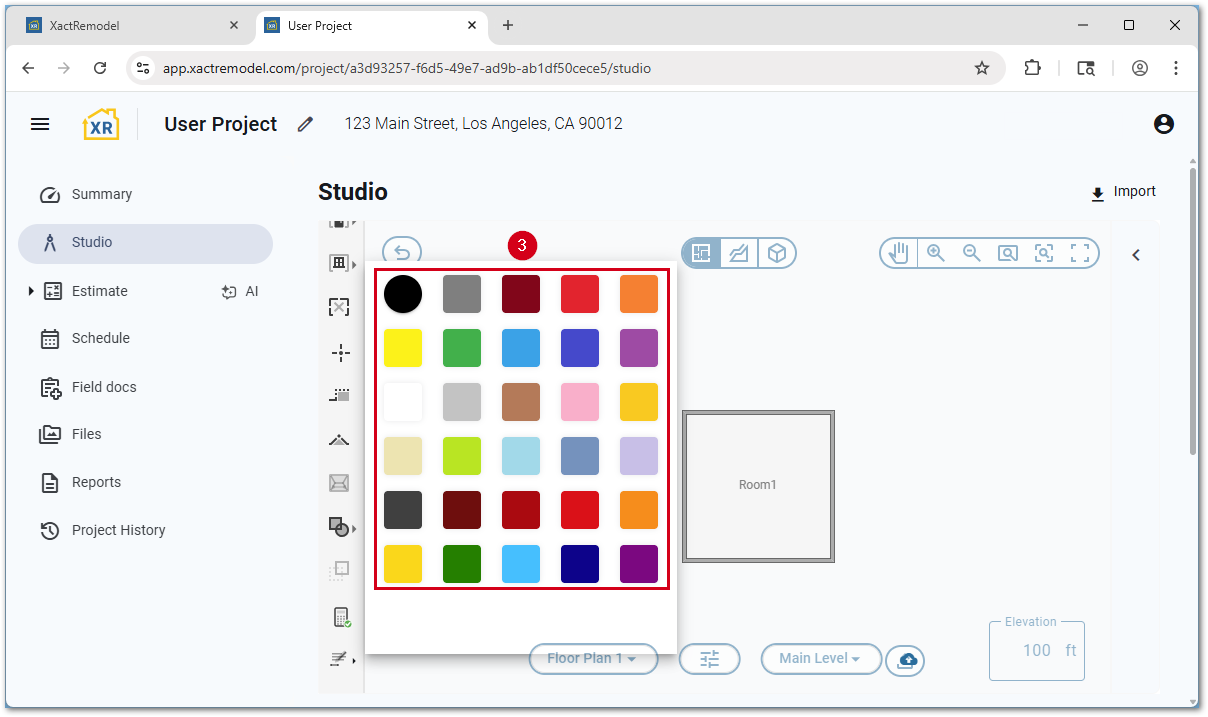
- Select Fill Color.

- Select the desired color. The current color is indicated by a circle.
- Select the Annotation icon again
- Select Fill.
- Select the desired rectangle or ellipse. The selected color fills the selected rectangle or ellipse.
