Beam
XactRemodel and Beam have partnered to provide you with enhanced project opportunities that allow you to estimate and budget seamlessly throughout your projects. Beam facilitates invoicing, expense management, budgeting, bill payments, and faster payment processing. Additionally, Beam offers a program-specific card for easy expense tracking and supports change order management. XactRemodel project data imports into Beam via CSV files and does not require any integration setup beforehand.
Once XactRemodel project data has been imported into Beam, the estimate details can be emailed directly to the client. After your project estimate is accepted by the client, Beam offers a range of features to support your project management:
- Set up a payment schedule with your client.
- Create invoices.
- Input and track your budget, expenses, bills, and contracts with subcontractors.
To learn more about Beam and it’s offerings, visit https://www.trybeam.com/ or schedule a demo at https://www.trybeam.com/demo.
Export XactRemodel estimate to CSV file
Import XactRemodel estimate into Beam
Export XactRemodel estimate to CSV file
To import XactRemodel estimate data into Beam, the project must be exported to a CSV file. For details on this process, please see our Export Estimate to a CSV File document.
Note: The CSV export feature is only available on the XactRemodel Professional and XactRestore subscriptions. To upgrade your subscription, reach out to the PropTech Sales Department via phone at 833-352-9228.
Import XactRemodel estimate into Beam
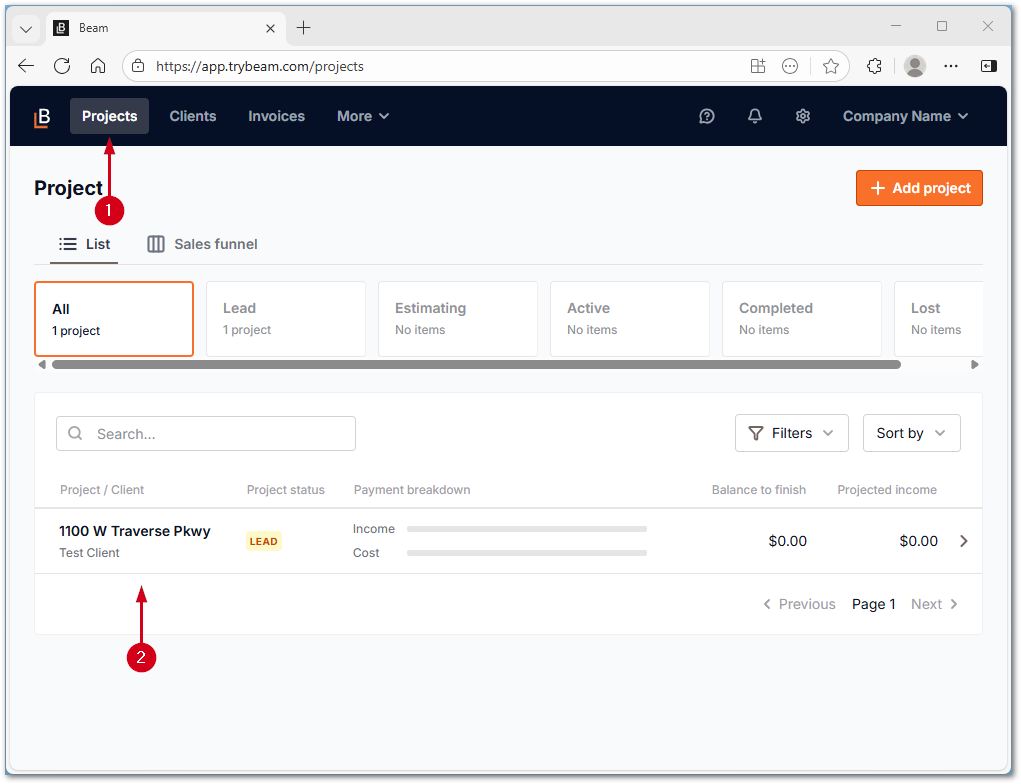
- From within Beam, select Projects.
- Select the desired project from the project list.
Note: Select Add project to create a new project if needed.
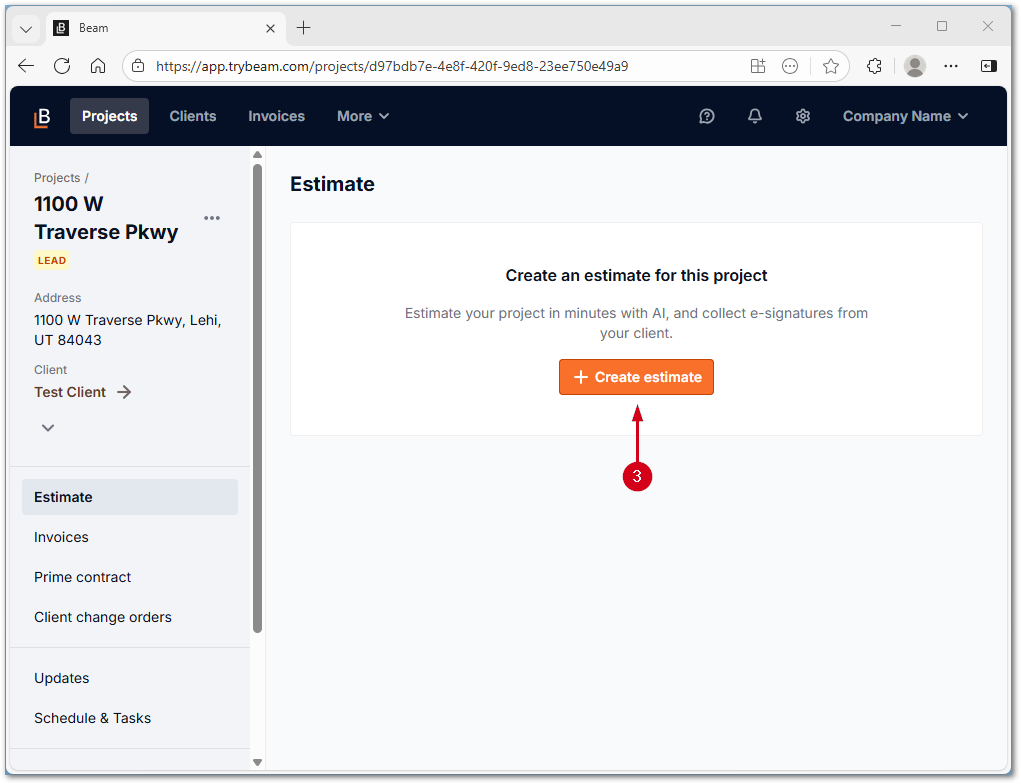
- Select Create estimate.
Note: If an estimate has already been created, select Continue editing and skip to step 5.
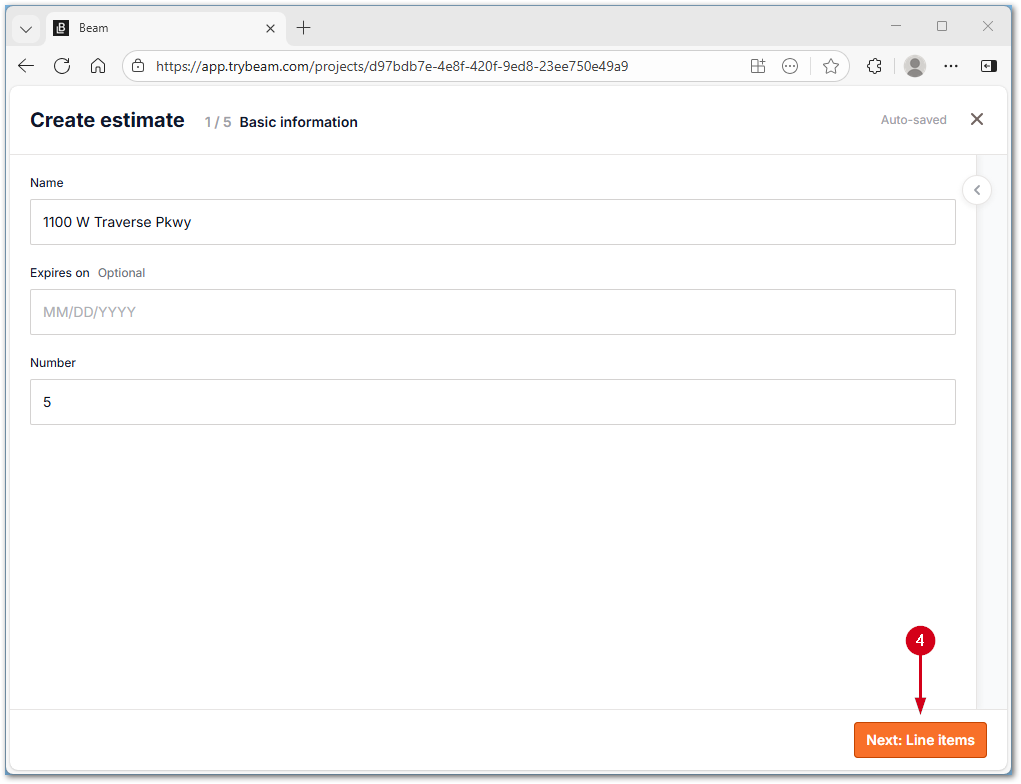
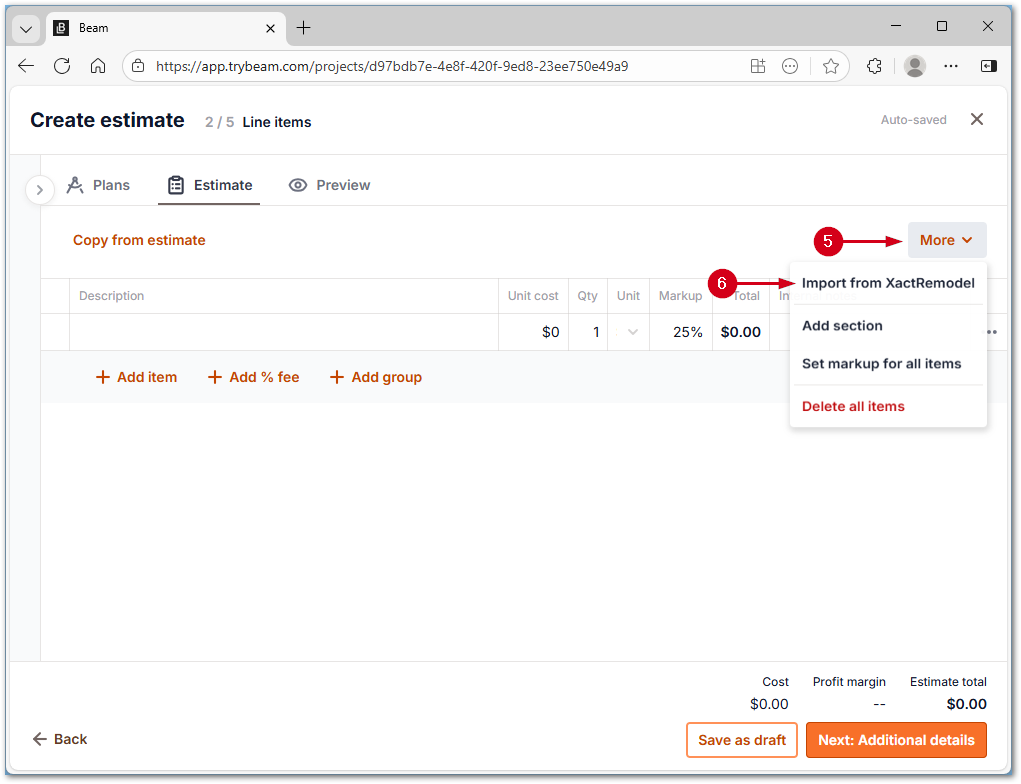
- Select Next: Line items.
- Select More.
- Select Import from XactRemodel.
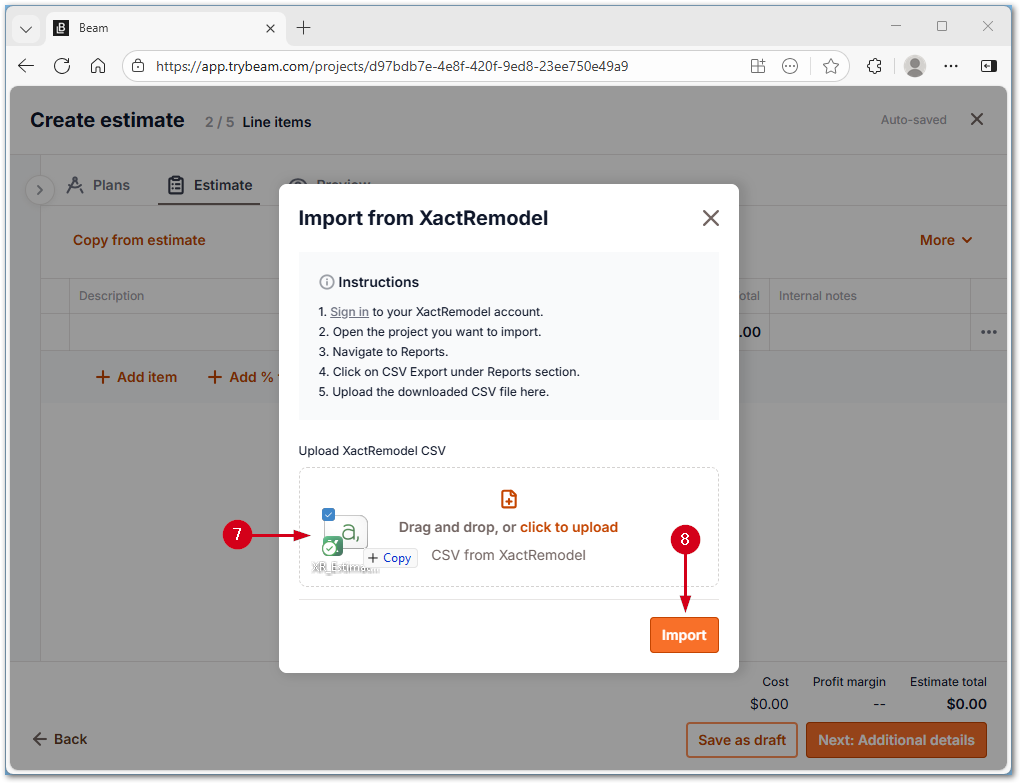
- Import the CSV file via drag and drop.
Note: Alternatively, select click to upload to browse saved files.
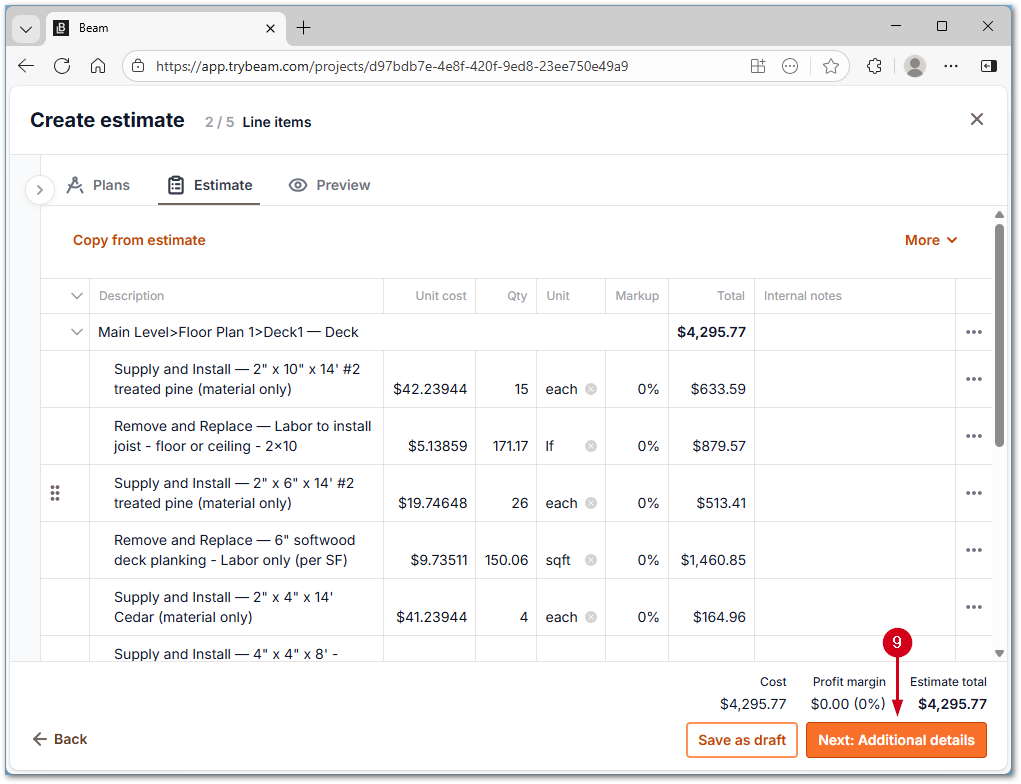
- Select Import. The estimate line items appear in the table.
- Select Next: Additional details.
Note: Add any additional details needed.
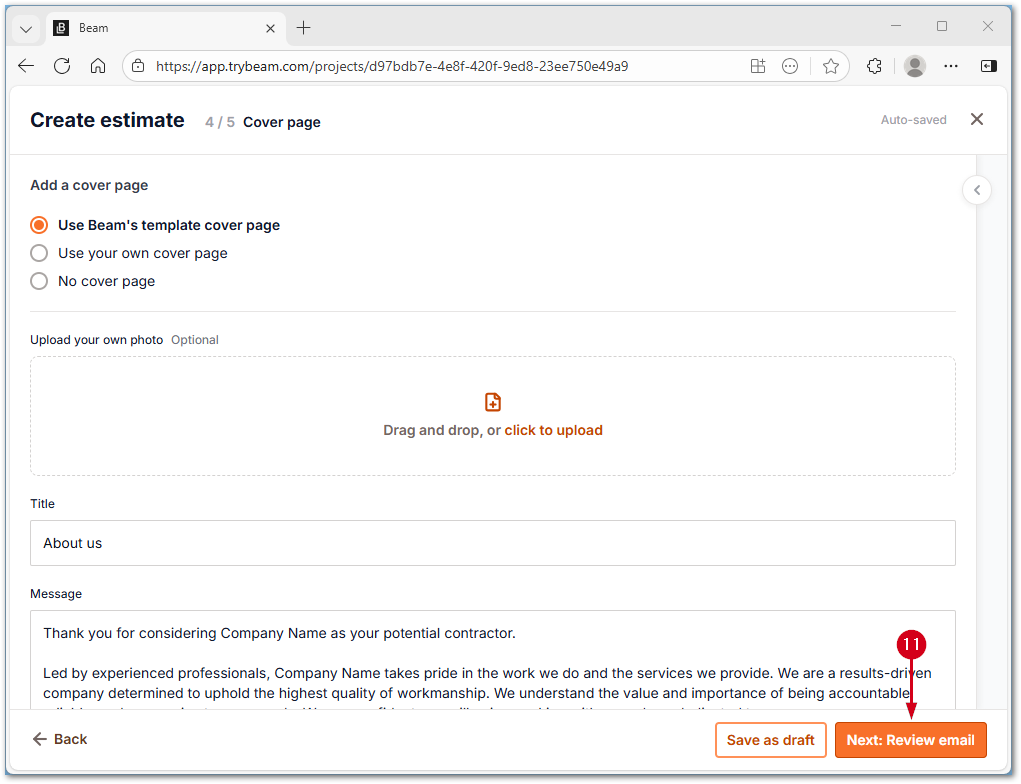
- Select Next: Cover page.
Note: Add any additional cover page details needed.

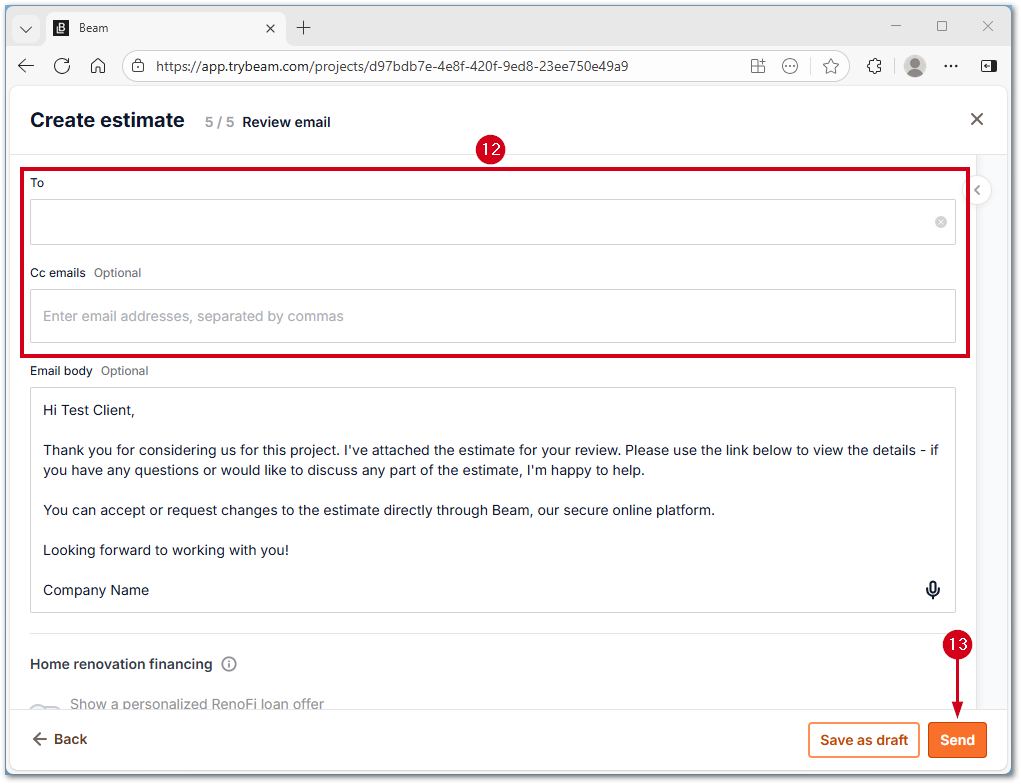
- Select Next: Review email.
- Enter email details.
- Select Send.