Table of Contents
Studio overview
 Updated
by Russell B.
Updated
by Russell B.
XactRemodel and XactRestore Studio is a powerful way to estimate and present projects to clients. The document below covers the Studio canvas, keyboard shortcuts, properties menu, adding line items, viewing in 3D, and how to include the Studio sketch in a report.
![]() The Studio feature is not available in XR Mobile.
The Studio feature is not available in XR Mobile.
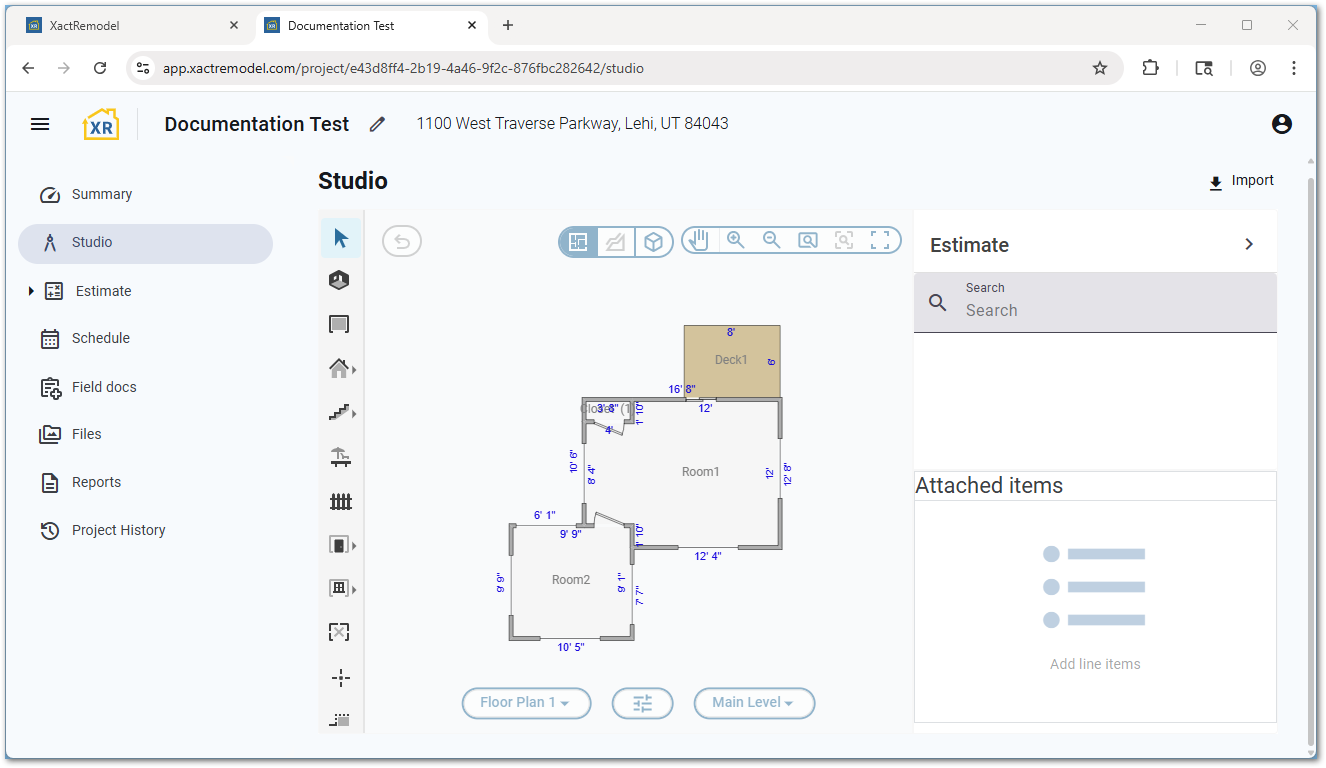
The Studio canvas
The Studio canvas is where floor plans and levels are created and can be viewed in 2D and 3D.
Projects can have more than one floor plan and more than one level. For assistance, see our Multiple floor plans and Working with levels documents.
Keyboard shortcuts
You can use the following keyboard shorts in XactRemodel and XactRestore Studio.
| ESC | Deselect estimate, cancel current operation, change to selection tool. |
| Scroll up or down | Zoom in or out. |
| Space | Activate the pan tool. Left click and drag on the canvas. |
| CTRL + Z | Undo the last action. Up to five previous actions can be undone.
Note: On macOS this is Command + Z. |
| [ | Flip the selected item horizontally. |
| ] | Flip the selected item vertically. |
| Tab | Rotate a room or object.
Note: If a room or object is already placed, select the item, then left click and hold while pressing the tab key. |
| R | Activate the Room tool. |
| Shift + W | Activate the Wall tool. |
| D | Activate the Door tool. |
| W | Activate the Window tool. |
| M | Activate the Missing wall tool. |
| C | Activate the Staircase tool. |
| F | Activate the Roof tool. |
| O | Activate the Reference block tool. |
| A | Activate the Reference area tool. |
| L | Activate the Reference line tool. |
| P | Activate the Reference point tool. |
| 3 | Switch to 3D view. |
| 1 | Switch to 2D view. |
Properties menu
You can access the properties windows of objects, such as rooms and reference blocks, by selecting the properties icon or double-clicking the object.

You can edit the name of the selected object in the properties menu. Additionally, each type of object has other adjustable options. When available, calculation variables are displayed as well. Calculation variables are used to help determine line item quantities.
Note: For assistance with properties relating to the entire level, see our Level properties document.

Line items
Studio's real power lies in its ability to attach estimate line items to elements. You can attach line items from the Verisk pricing database to elements within the canvas. Once attached, these line items are added to the project estimate, providing a quick way to determine the quantities needed for each line item.
For more information, see our Add line items from within Studio document.
3D visualization
Floor plans created in 2D are also viewable in in 3D.
For more information, see our View sketch in 3D document.
Include the sketch in a report
You can also display your Studio floor plans in the proposal report you present to your clients.
For more information, see our Share floor plans document.