Field docs Admin - Documents

This document is part of the initial setup an XactRestore Pro administrator will go through to setup Field Docs for use by employees in the field.
Before starting any job, complete the steps in Field docs Admin - Settings.
While you can start jobs without completing the steps in this document and the Field docs Admin - Report Templates you will not be able to take advantage of signed documents or report templates until this is completed.
![]() Field Docs is part of the XactRestore Pro subscription tier. To upgrade, please speak with our Sales Department by calling 833-352-9228.
Field Docs is part of the XactRestore Pro subscription tier. To upgrade, please speak with our Sales Department by calling 833-352-9228.
To access the document settings:
- Select Admin.
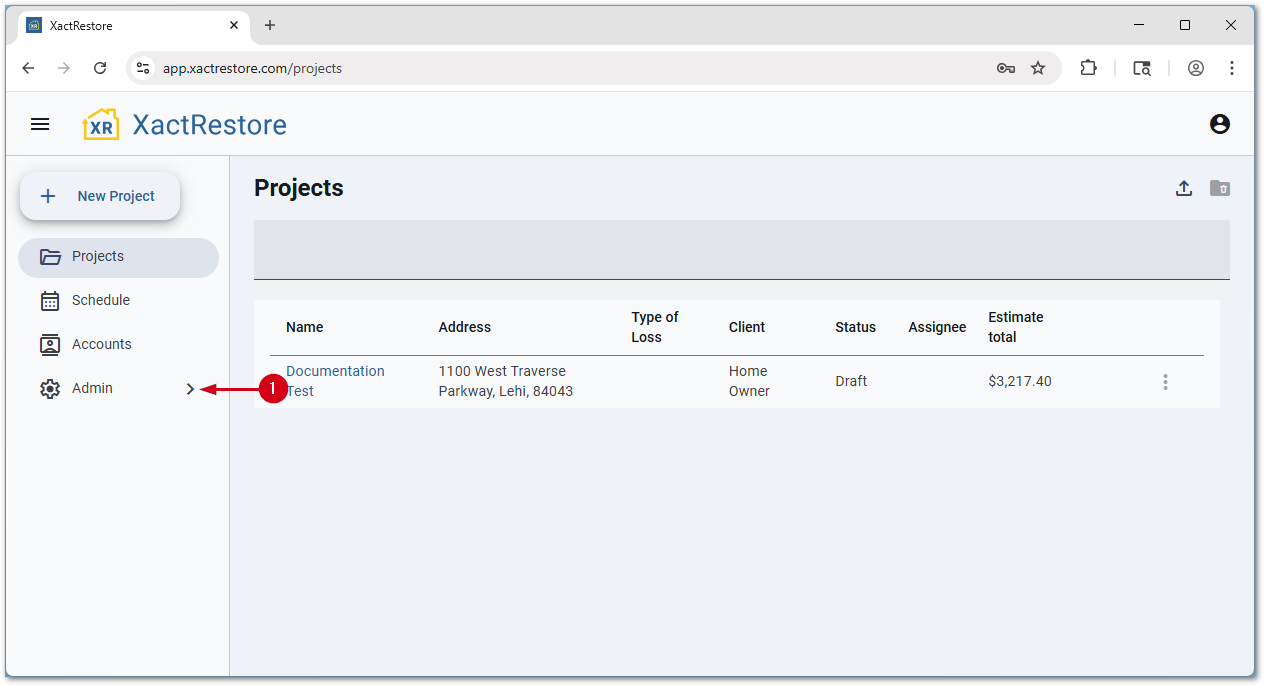
- Select Field docs.
- Select Documents.
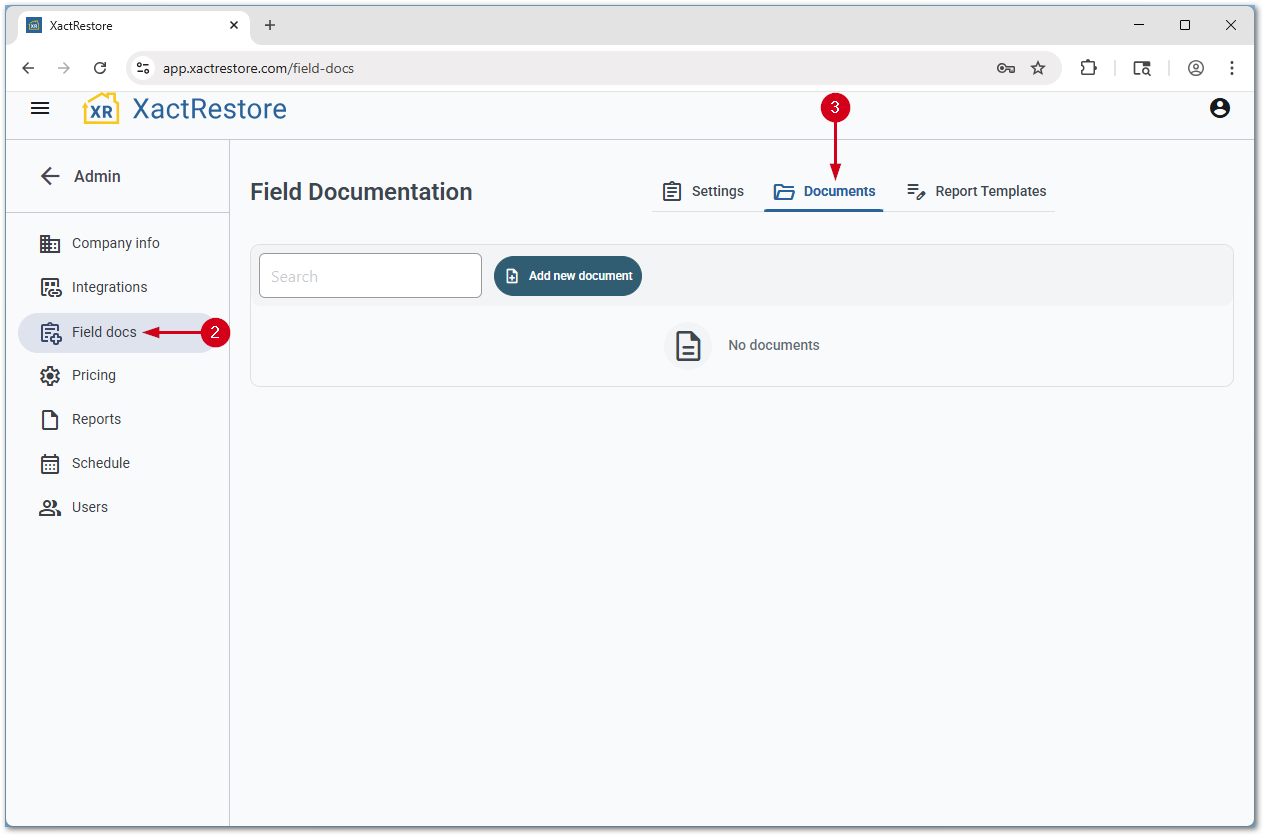
Add new documents
Follow the steps below to add new documents.
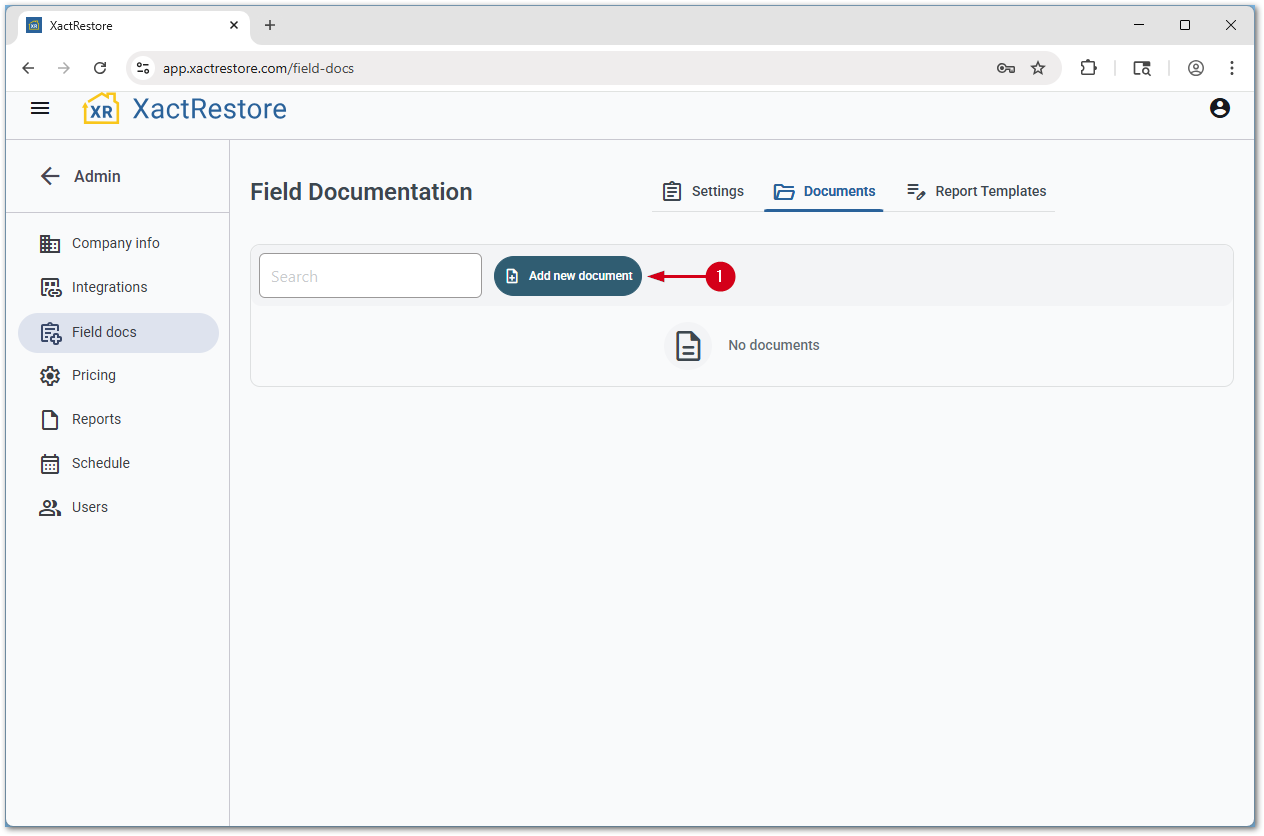
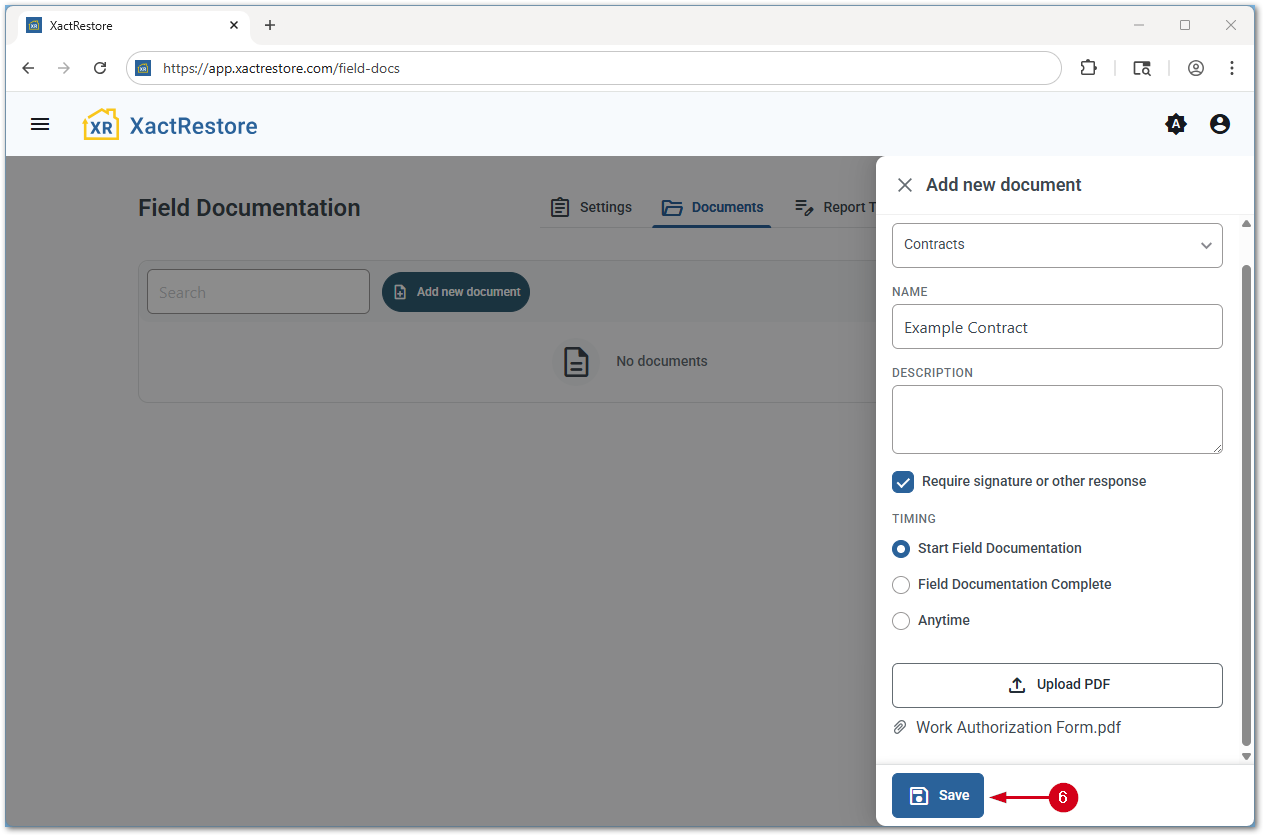
- From the documents setting page, select Add new document.
- Select a document type.
- Enter a name for the document. This name is visible when selecting documents within a project.
- Select features related to the document.
- Require signature or other response: Select to require the form to be filled out on each project its active on.
Note: If the signature required option is selected, the timing section is enabled allowing you to set when the document should be filled out.
- Require signature or other response: Select to require the form to be filled out on each project its active on.
- Select Upload PDF. An Open window opens.
Note: The next step assumes you have navigated to and selected a PDF file and it now appears below the Upload PDF button.
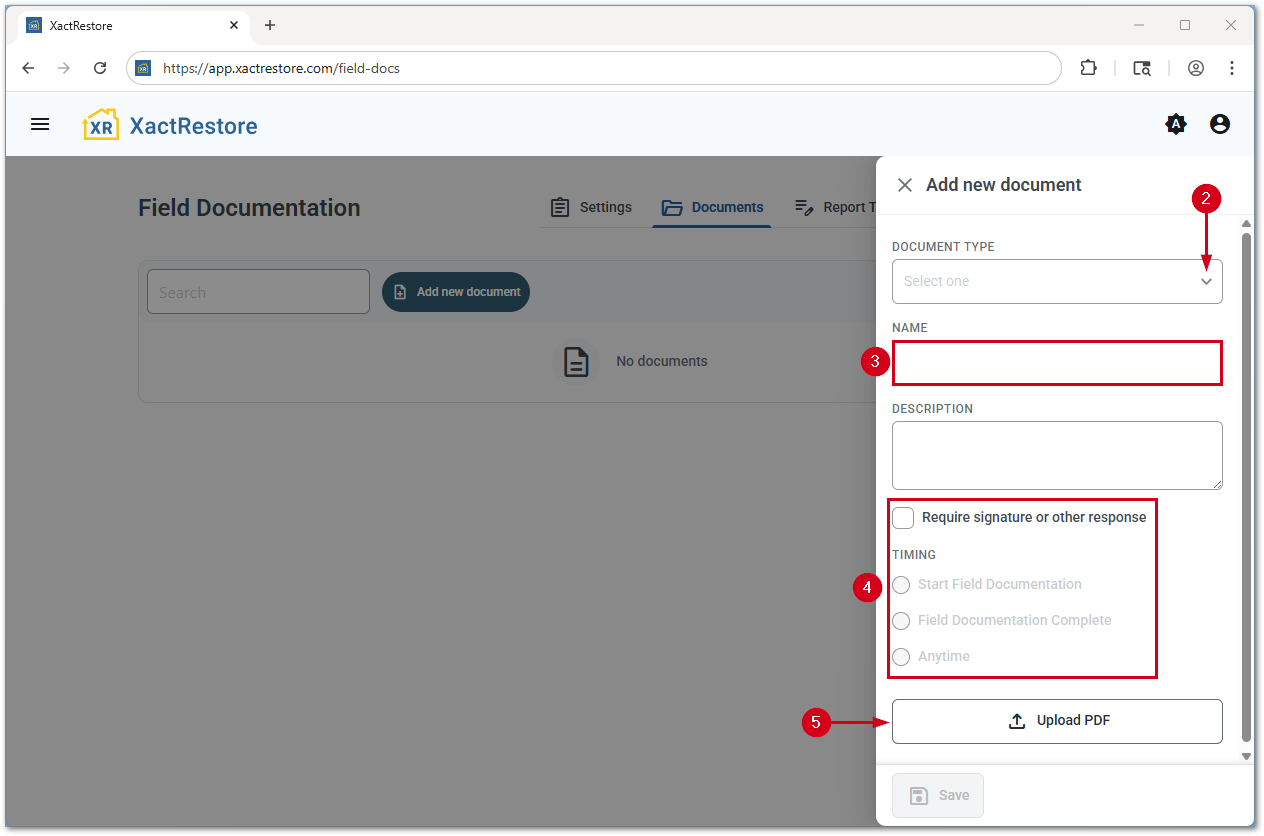
- Select Save. A new page opens with a WYSIWYG editor and is described in the next section.
Note: Optionally, enter a description before selecting Save.
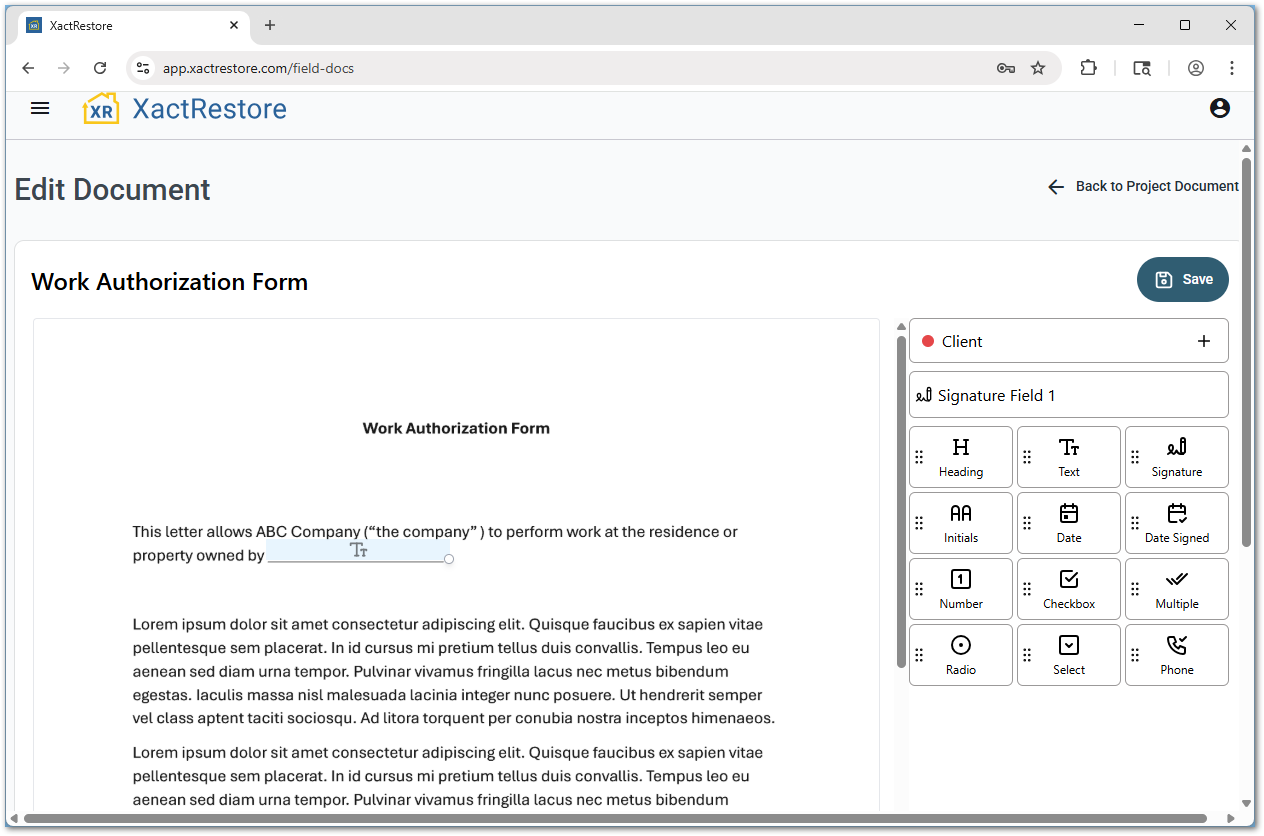
Setup a document
Once you have created a new document from the section above, or selected edit template next to an existing document, a WYSIWYG editor window appears allowing you to add in tokens, text, signatures, dates, etc.
Multiple parties, such as client and employee, company representative, etc., can be created using the client field. When hovering over the field, select the pencil icon to rename the party, or click the plus icon to add a new party.
Note: See the top of this document for an Xactware XpertTip video covering creating and signing documents. The left-side menu is collapsed in the below screenshot, select the three-line menu icon to expand it again.
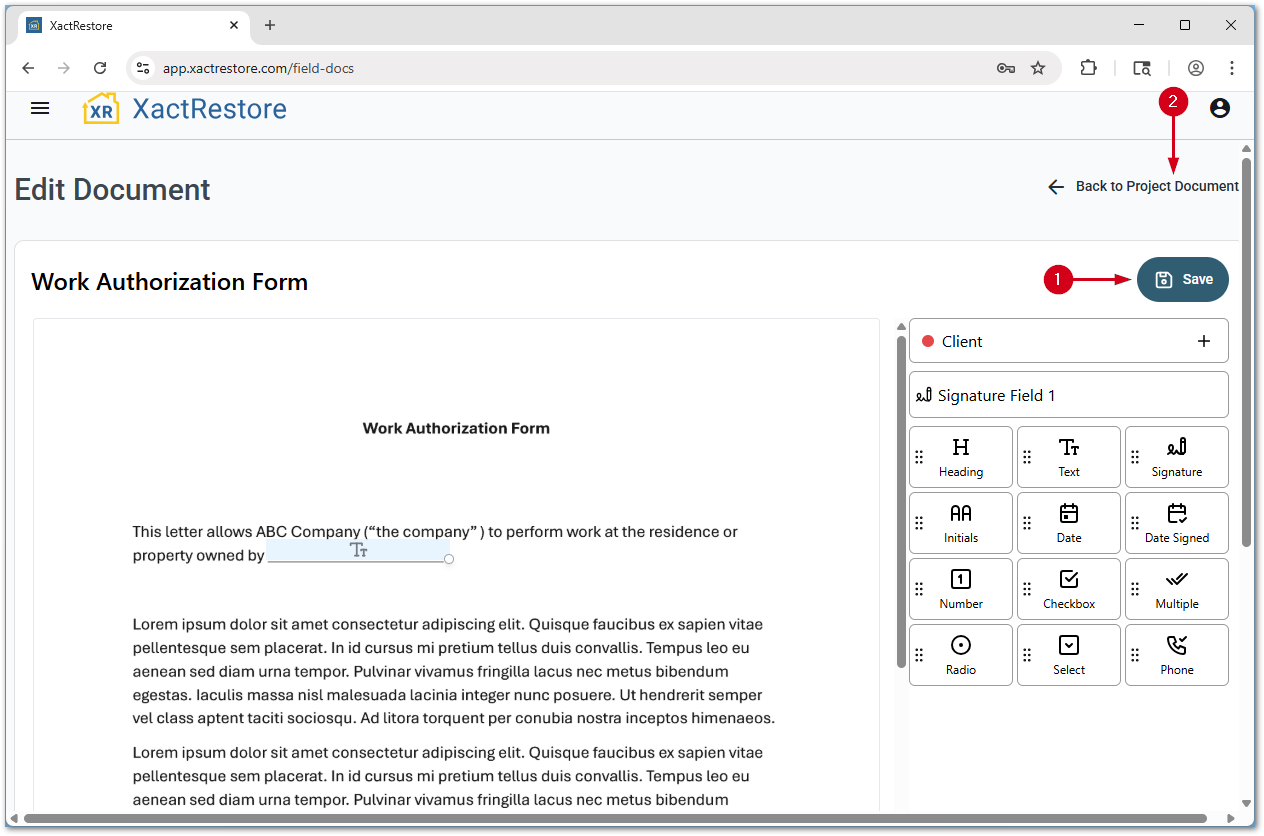
Once fields are drawn, follow the steps below to return to the main documents settings page.
- Select the Save button.
- Select Back to Project Documents.
Edit existing documents
Once at least one document is added to an account, several options are available:
Note: If a document does not require a signature, only the Active switch and the three-dot menu will appear.
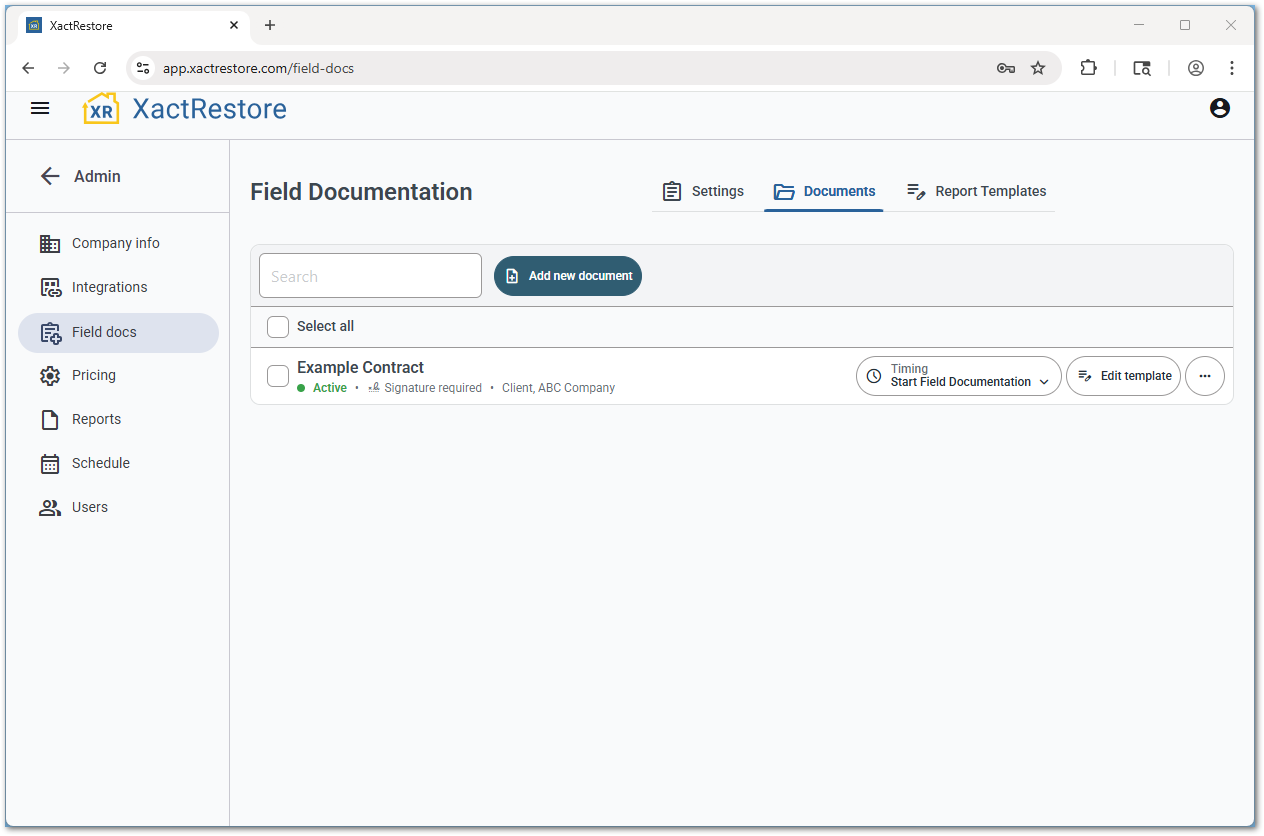
- Timing: Quickly switch when a document is required to be completed.
- Edit template: Opens the WYSIWYG editor.
- Three-dot menu
- Edit document details: Opens the window that initially appeared when creating the document.
- Delete document: Deletes the selected document.
IMPORTANT: There is no deletion confirmation prompt and no way to recover a document once it is deleted.