Proposal report
 Updated
by Russell B.
Updated
by Russell B.
The Proposal report is a customer-friendly report that presents the estimate data in a simple, yet professional way. The Proposal report provides a detailed breakdown of the line item data that was added to the estimate.
Also contained in the report are the line item details of the estimate. The line item data is broken out into the groups that were added as part of the project.
The Proposal report includes the following information:
- Item number: A running count of items in the project
- Line Item Description: The description of the line item
- Line Item Activity: The activity associated with each item
- Line Item Quantity: The quantity needed for each item
- Line Item Total: The total cost for each item
- Line Item Note: Optional text that can be entered within a line item and displayed inline on the report
- Group totals: The total for each group
- Estimate totals: The total for the entire estimate
- Photos: Photos attached to the estimate
Note:See our Manage photos in Proposal reports document for more information.
- Floor plan image: Images of the floor plan
Company logo and information
Administrators can apply a company logo and information—including the company name, address, phone number, and website— in the company info section. For more information on this process, please see our Company info document.
Note: This feature is only available in XactRemodel and XactRestore online.
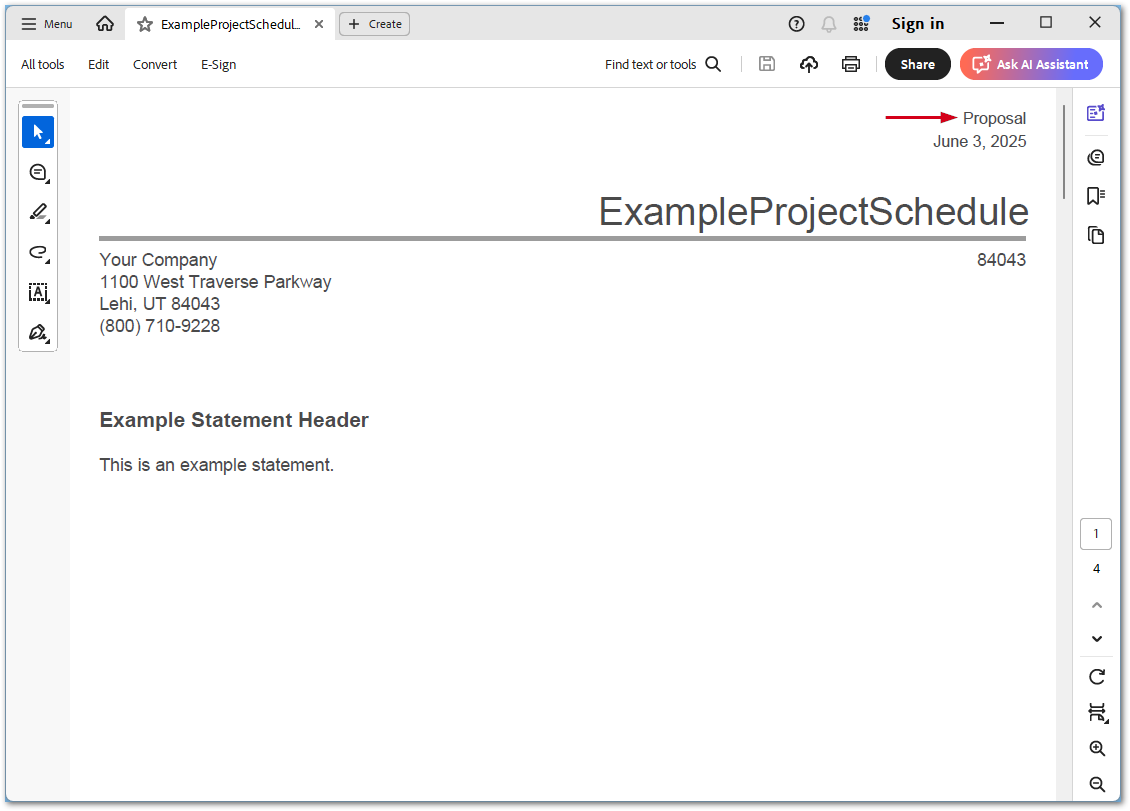
Report statements
Users can optionally apply custom opening and closing statements to the Proposal report. For assistance with statements, see our Create report statements document.
Rename Proposal report
Users can rename the Proposal report by following the steps in the subsections below.
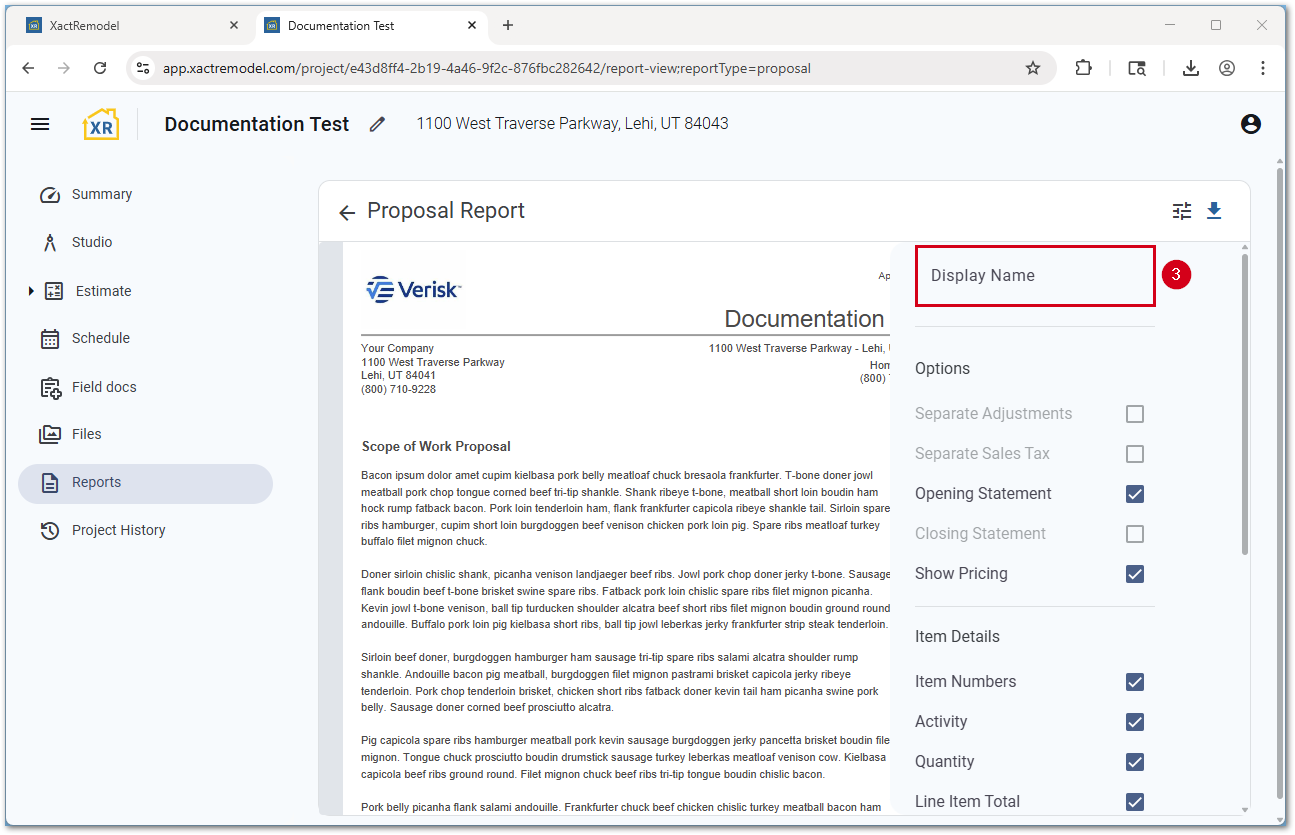
XactRemodel and XactRestore online
- Within a project, select Reports.
- Select Proposal.

- Enter the desired Display Name.
Note: If the settings window is not open by default, select the settings icon.
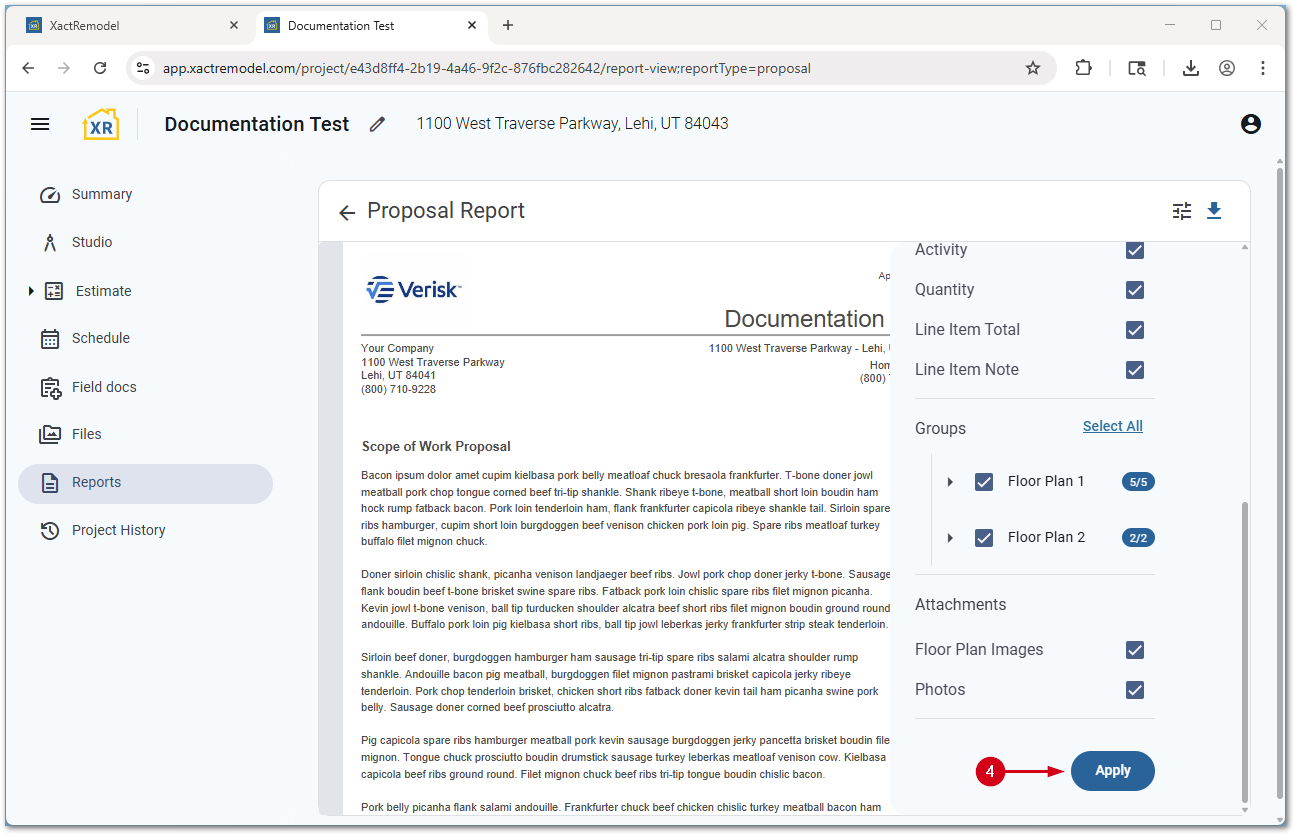
- Select Apply. The report regenerates
Note: If this option is out of view, scroll down.
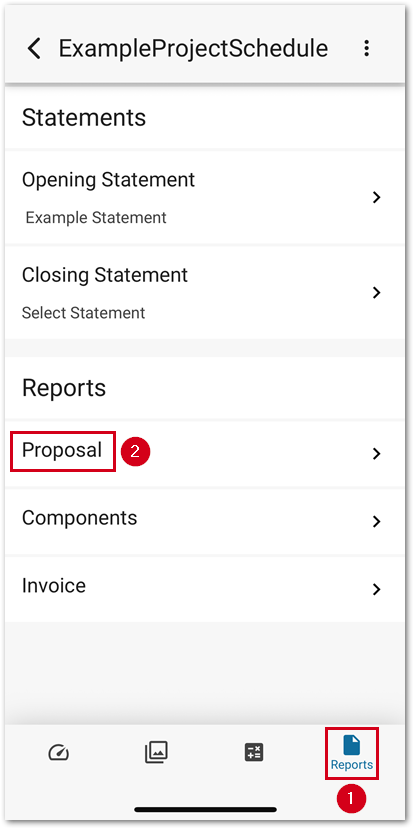
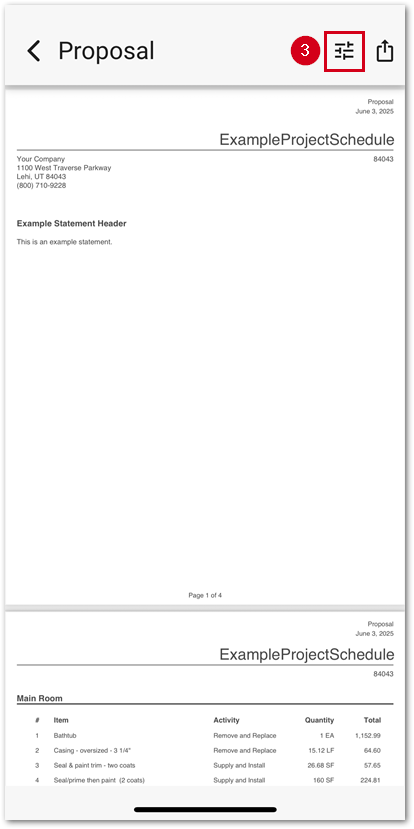
XR Mobile
Note: Images are taken from an iOS device and may vary slightly on Android devices.
- Within a project, select the Reports Icon.
- Select Proposal.
- Select the options icon.
- Enter the desired Display Name.
- Select the checkmark icon to save. The report regnerates

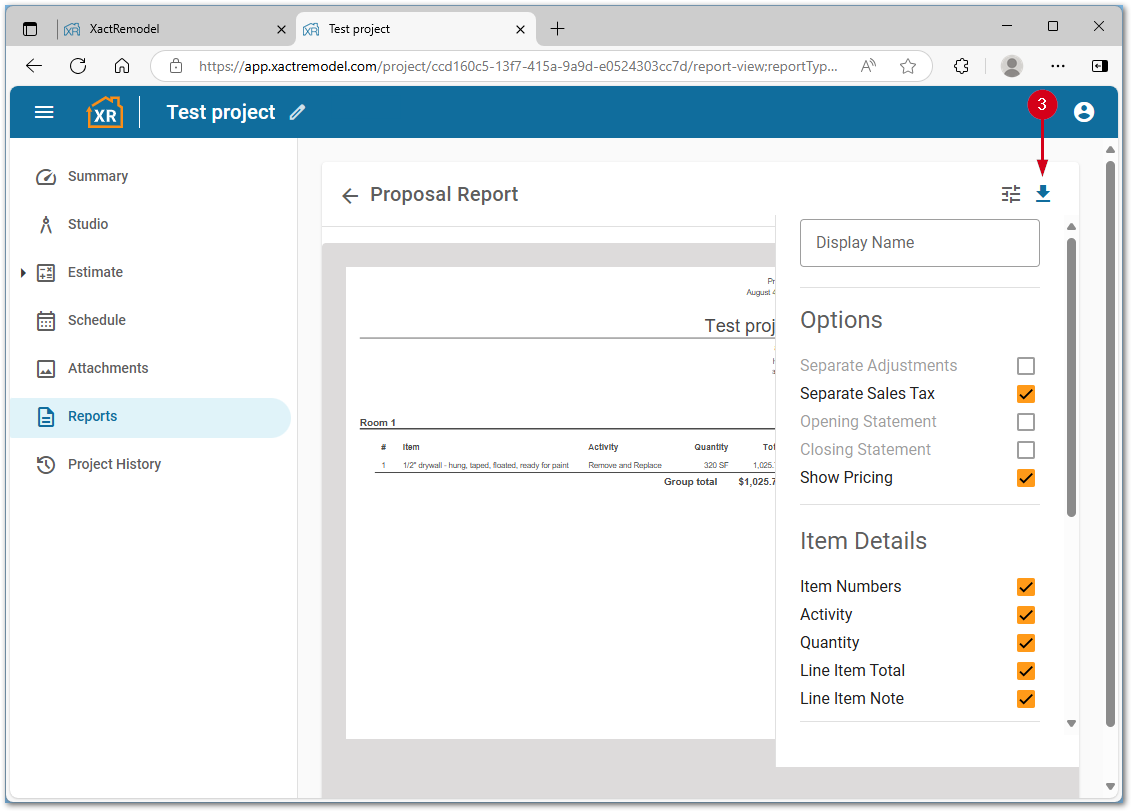
Report settings
The report settings available to users include the following:
- Options
- Separate Sales Tax: Shows the sales tax on a separate line
- Opening Statement: Includes the selected opening statement
- Closing Statement: Includes the selected closing statement
- Show Pricing: Shows the pricing of each item
Note: Unselecting Show Pricing turns off all other settings that involve pricing.
- Price adjustments
- Margins and markups: Shows margin or markup under each group as a separate item, combined with the line item, or separately as a lump sum
- Discounts: Shows discounts under each group as a separate item, combined with the line item, or separately as a lump sum
- Item Details
- Item Number: Includes the item number of each item
- Activity: Shows the activity associated with each item
- Quantity: Shows the total quantity of each item
- Line Item Total: Shows the total of each line item
- Line Item Note: Shows notes added to any line item
- Groups: Shows a list of rooms or groups displayed in the estimate grouping tree; select or unselect each group to include or omit them
- Attachments
- Floor Plan Images: Includes images of the floor plan
- Photos: Includes any photo attachments
Once the settings have been configured appropriately, select Apply to have the report settings applied to the report.
Generate or share the report
Follow the steps in the following sections to generate and share a .pdf file of the Proposal report.
XactRemodel and XactRestore online
- Wwithin a project, select Reports.
- Select Proposal.
- Select the download icon. A .pdf file downloads automatically.
This report can then be emailed, printed, saved, or uploaded to a file sharing application to share with others.
XR Mobile
Note: Images are taken from an iOS device and may vary slightly on Android devices.
- Within a project, select Reports.
- Select Prospal.
- Select the share icon.
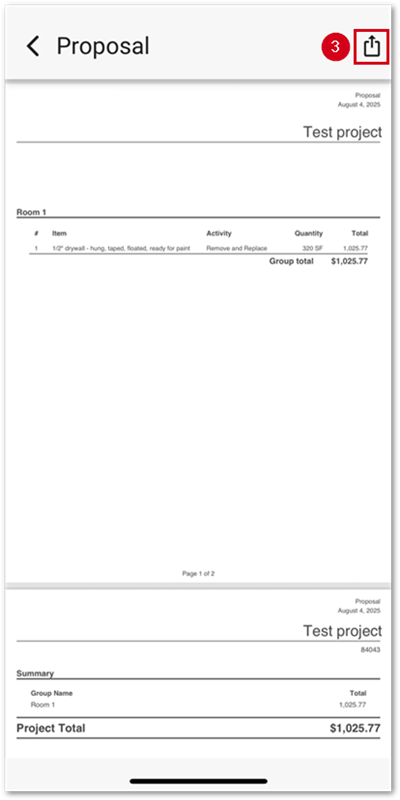
This report can then be shared via email, text, file sharing drive, or printed.