Table of Contents
About Studio
Updated
by Darren Knight
XactRemodel Studio is a powerful way to estimate and present to your clients. Let's get started by going over how to create a floor plan.
The Studio canvas
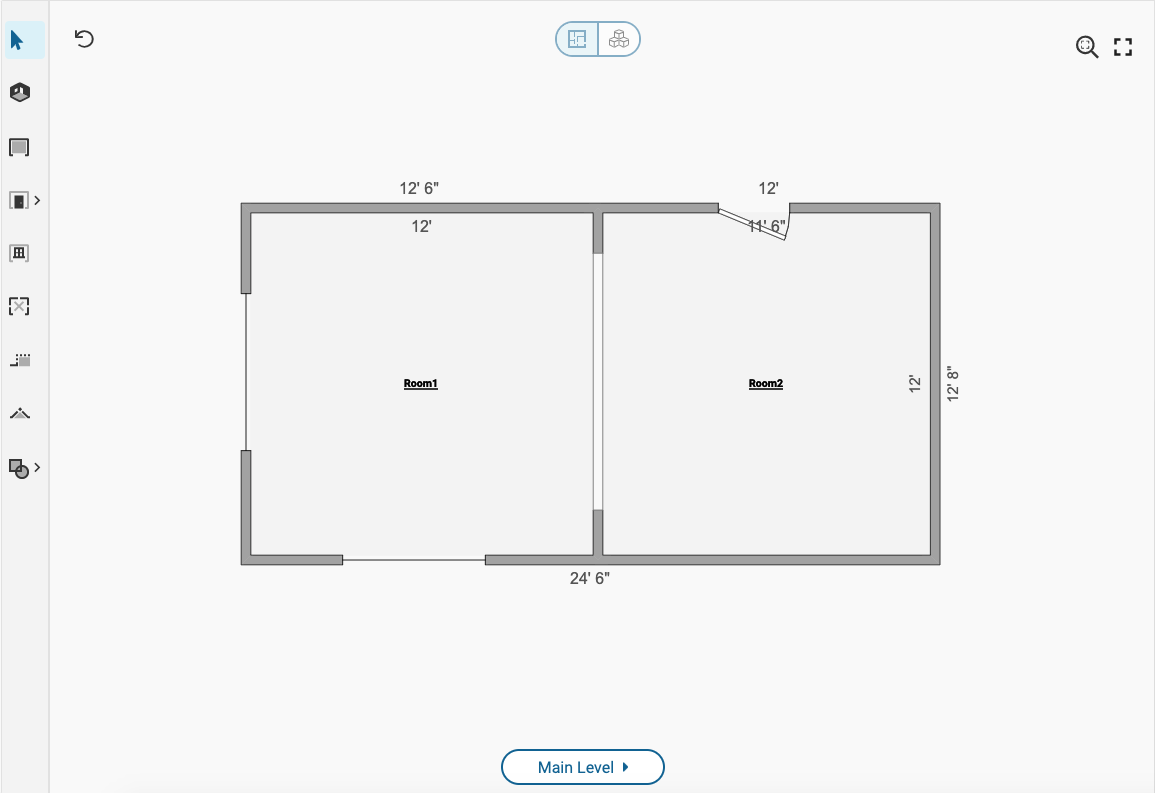
The Studio canvas is where floor plans are created. Floor plans can be created in 2D and also viewed in 3D.

Canvas hotkeys
|
Hotkey |
Description |
|
ESC |
Deselect element, cancel current operation, change to Selection tool |
|
Scroll UP/DOWN |
Zoom IN/OUT |
|
SPACE |
Enable the pan tool. Left-click and drag anywhere on the canvas. |
|
CTRL/CMD and Z |
Undo the last action. Up to 5 previous actions can be undone. |
|
[ |
Flip horizontally |
|
] |
Flip vertically |
|
Left-Click + TAB |
Rotates room or item. |
|
R |
Room tool |
|
SHIFT + W |
Wall tool |
|
D |
Door tool |
|
W |
Window tool |
|
M |
Missing Wall tool |
|
C |
Staircase tool |
|
F |
Roof tool |
|
O |
Reference Block tool |
|
A |
Reference Area tool |
|
L |
Reference Line tool |
|
P |
Reference Point tool |
|
3 |
3D View |
|
1 |
2D View |
Properties menu
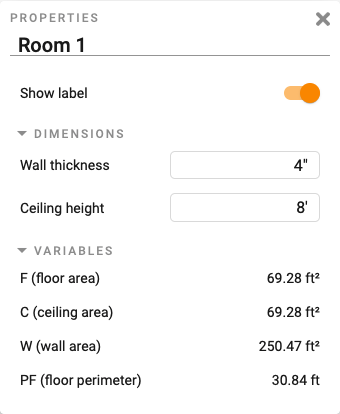
Element properties can be adjusted within the properties menu. The property menu is opened by selecting an element and clicking the icon that appears next to the element or double-clicking the element.

The element name can be edited. Each element has different options that can be adjusted. When available, calculation variables will be displayed as well. Calculation variables are used to help determine line item quantities.
Line items
The real power of Studio is in the ability to attach estimate line items to elements in Studio. Within Studio, line items from the pricing database can be attached to elements in the canvas. Line items attached to elements are added to the project estimate. This is a quick way to get the quantities needed for line items. Learn more
3D visualization
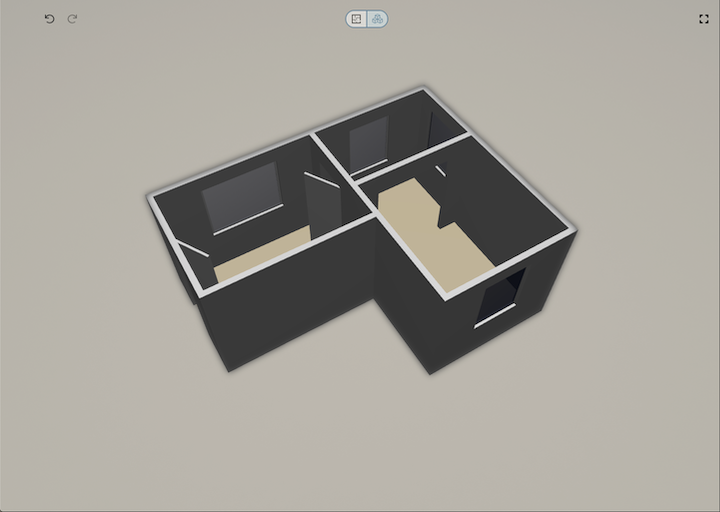
Floor plans created in 2D can also be viewed in 3D. Click the view toggle, located at the top of the canvas, to switch views.

Include on Your Bid
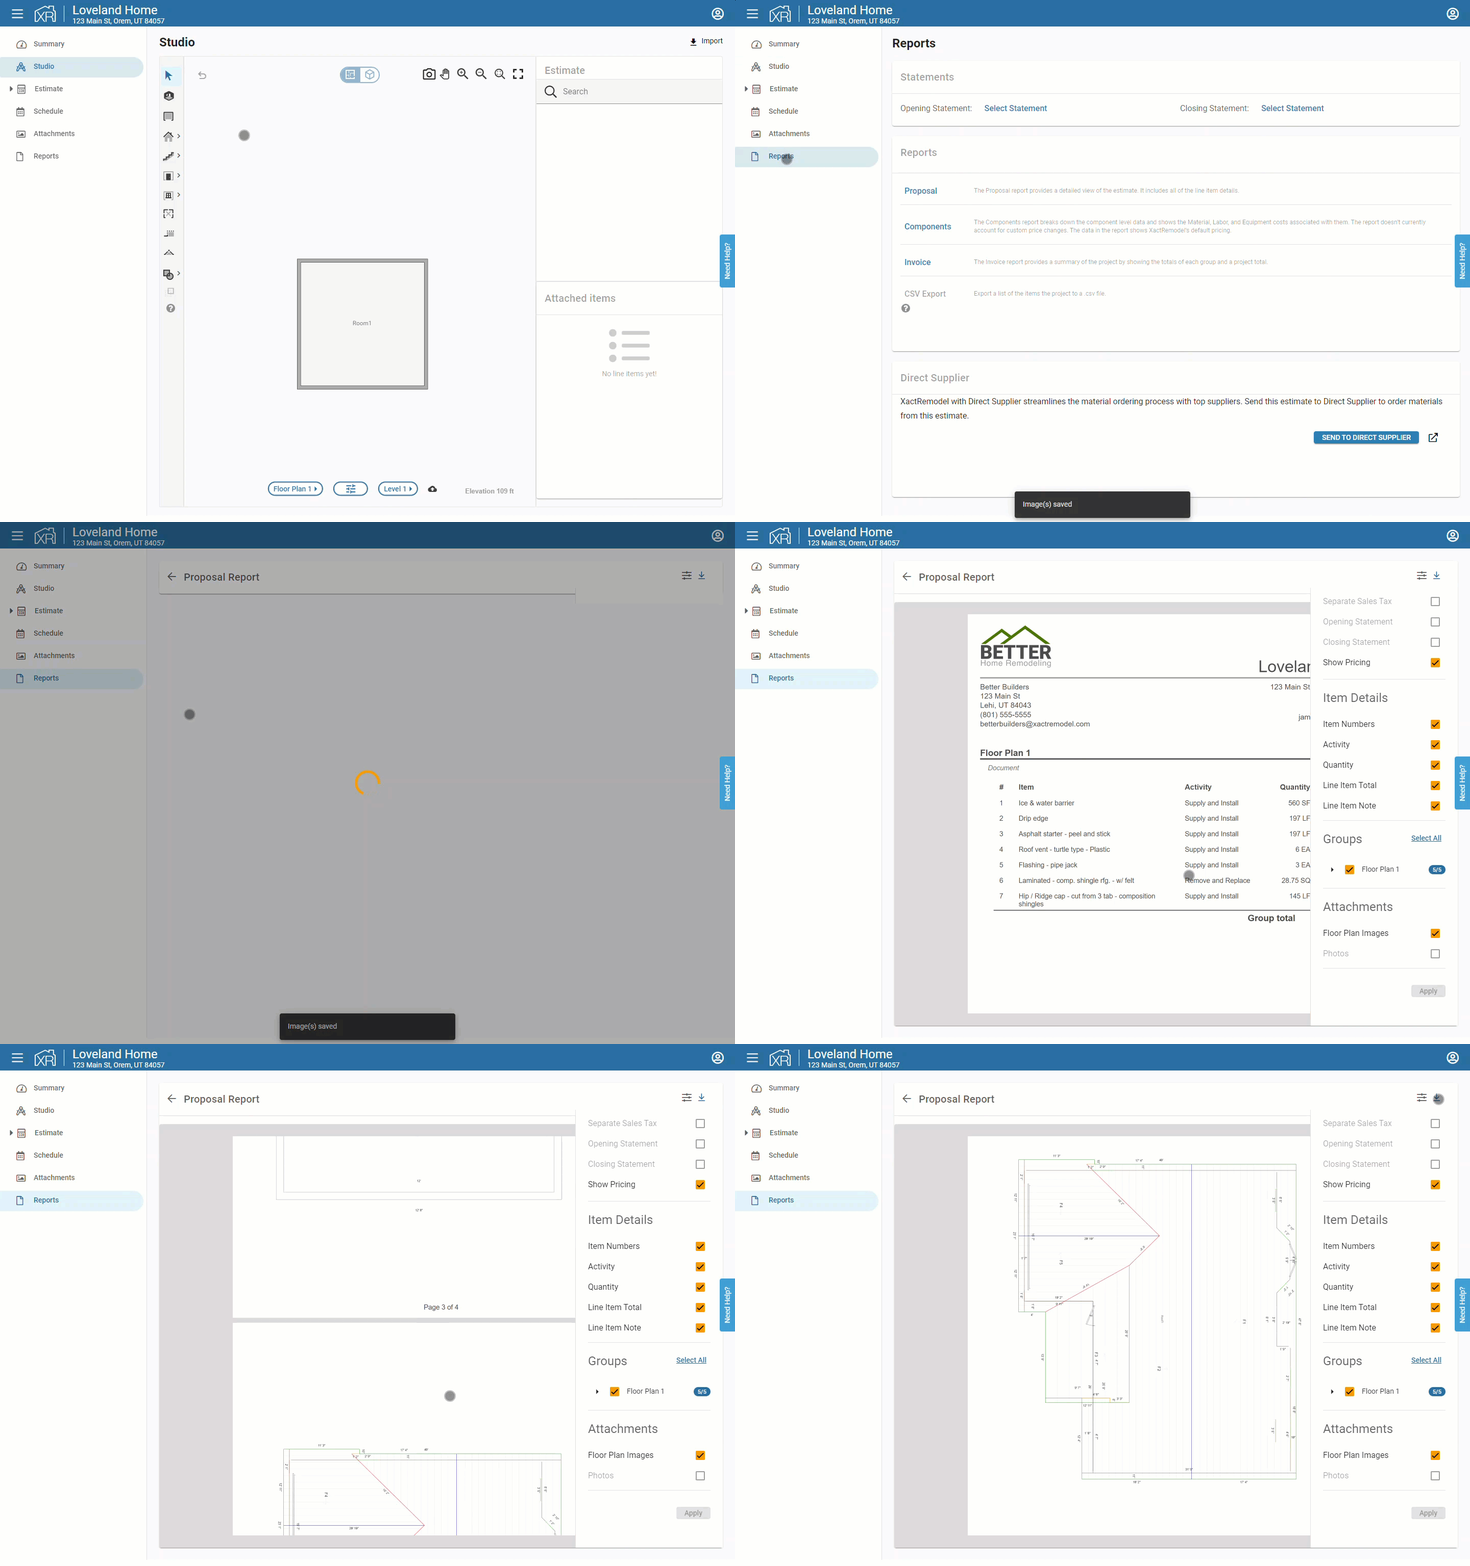
Your studio floor plans can also be displayed in the proposal report you present to your clients.

