Manage photos and documents
 Updated
by Russell B.
Updated
by Russell B.
Attachments can now be grouped into custom folders within the attachments section of a project in XactRemodel and XactRestore.
![]() Tip: Photo attachments (.jpg, .jpeg, .png, .heic, and .gif) are available to all subscription tiers. Users on XactRemodel Pro or XactRestore Pro can attach documents (.pdf, .doc, .docx, .txt, .odt, .rtf, .xls, .xlsx, .ods, and .csv ) in addition to photos. To upgrade your subscription, contact our sales team at 1-833-352-9228 Monday thru Friday from 7 AM to 4 PM Mountain Time.
Tip: Photo attachments (.jpg, .jpeg, .png, .heic, and .gif) are available to all subscription tiers. Users on XactRemodel Pro or XactRestore Pro can attach documents (.pdf, .doc, .docx, .txt, .odt, .rtf, .xls, .xlsx, .ods, and .csv ) in addition to photos. To upgrade your subscription, contact our sales team at 1-833-352-9228 Monday thru Friday from 7 AM to 4 PM Mountain Time.
XactRemodel and XactRestore online
XactRemodel and XactRestore online
Add new attachments
Follow the steps below to add new attachments to a project in XactRemodel and XactRestore online.
- From within a project, select Files.
- Select the Add button.
- Select File upload.
Note: To load an entire folders worth of attachments at once, select Folder upload.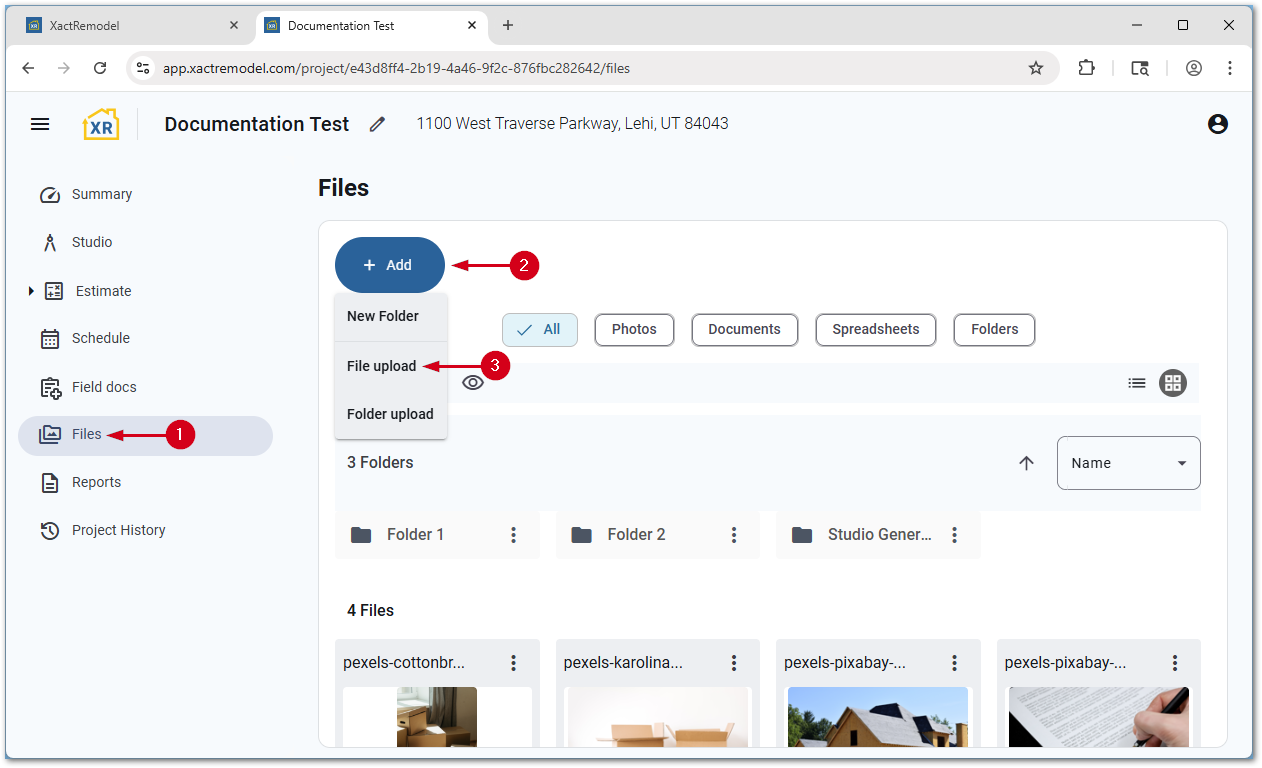
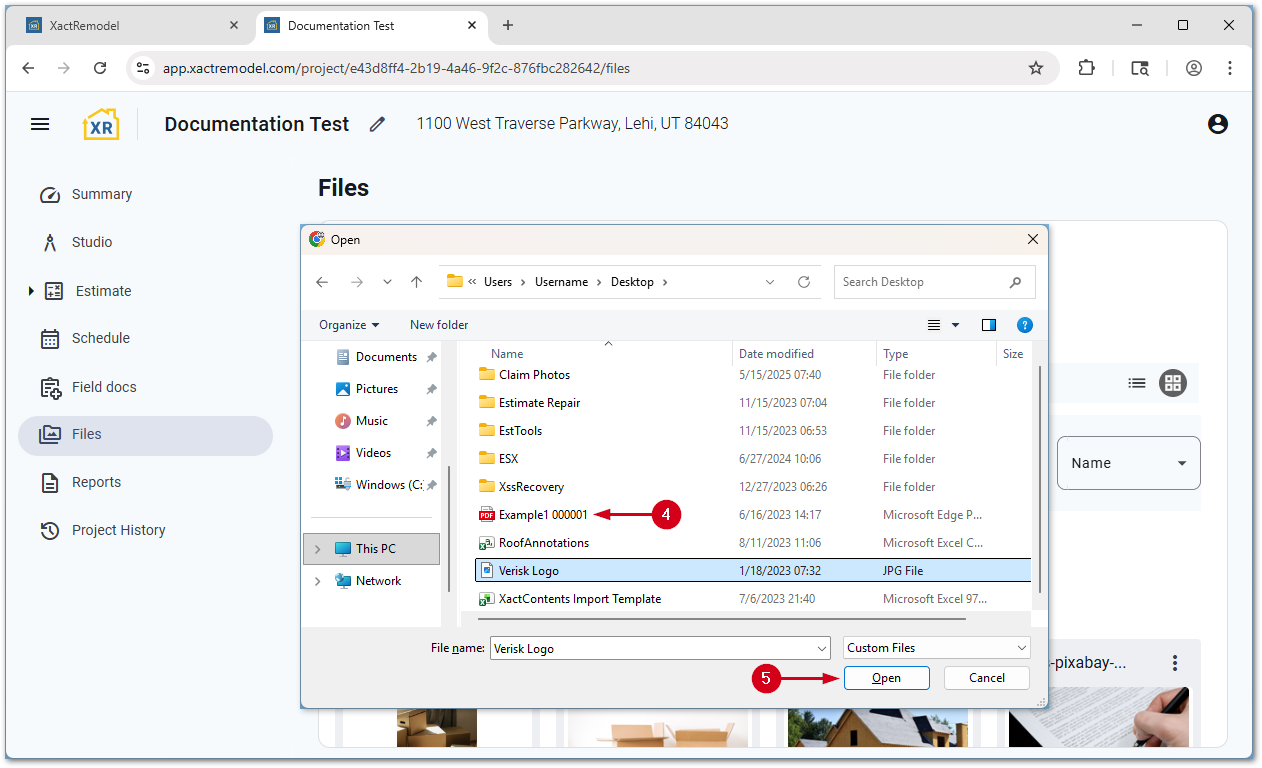
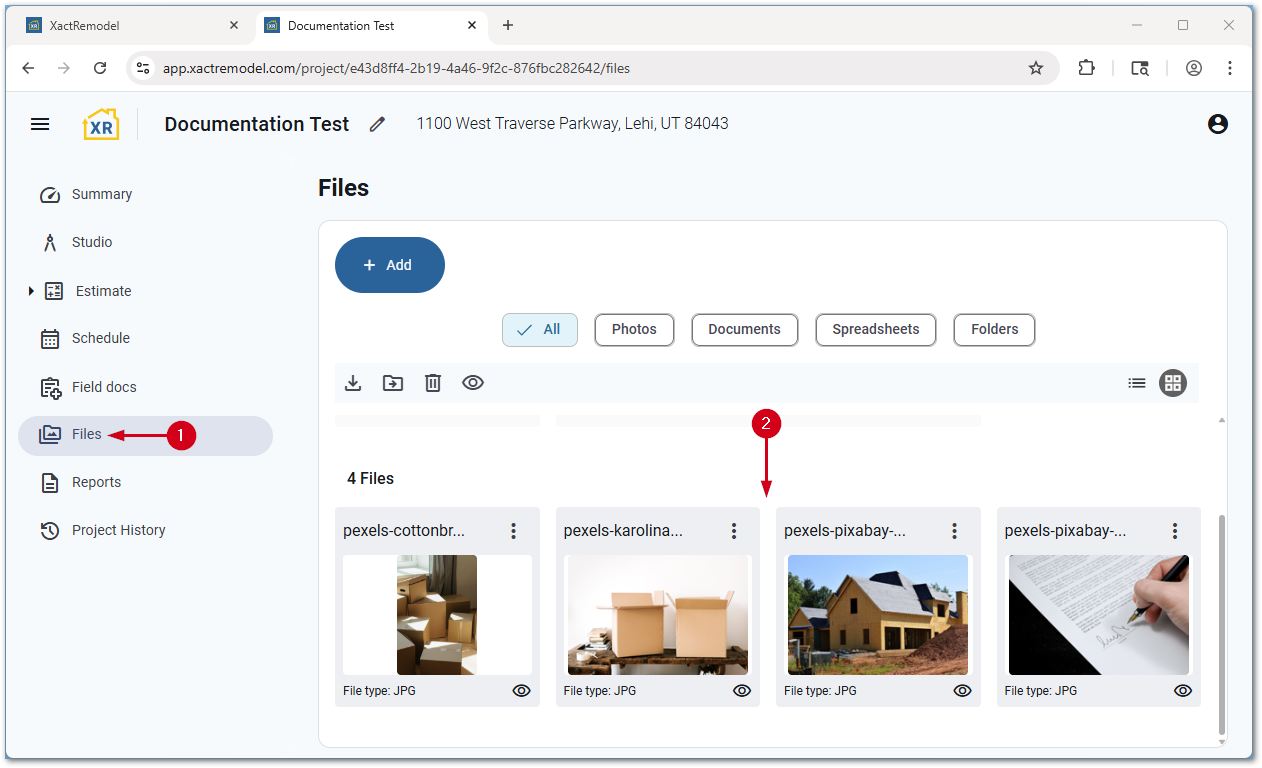
- Select the desired attachment(s).
Note: More than one attachment can be added at once by pressing shift and clicking to select a contiguous group of attachments, or the control key and selecting desired attachments.- Select Open. The attachments will be added to the selected folder.
Edit attachments
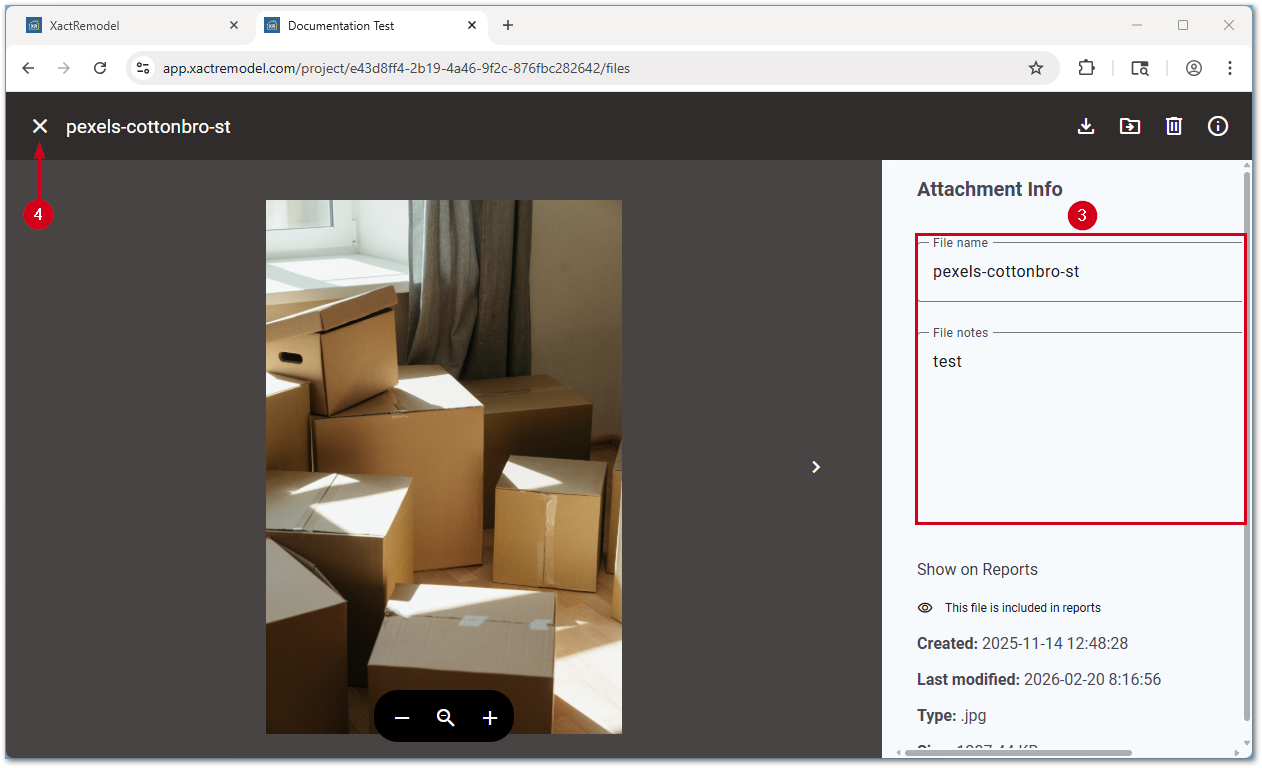
Attachments can have their file name changed, and notes added about them.
- From within a project, select Files.
- Double-click the file to edit.
- Make the necessary changes. Changes will save once you leave the field that was edited.
- Select the Exit viewer icon to return to the Files section.
Add new folders
Follow the steps below to add new folders.
Note: All folders will be at the root level and cannot be nested.
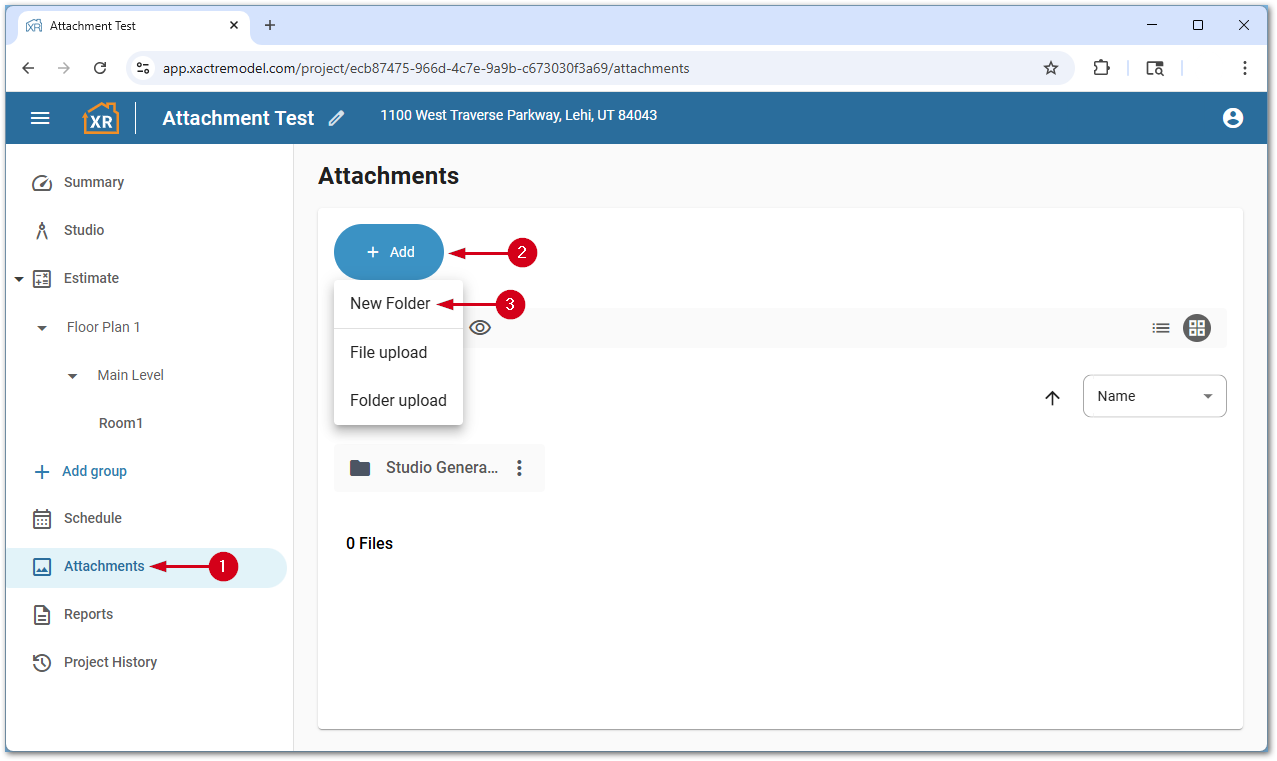
- From within a project, select Files.
- Select the Add button.
- Select New Folder.
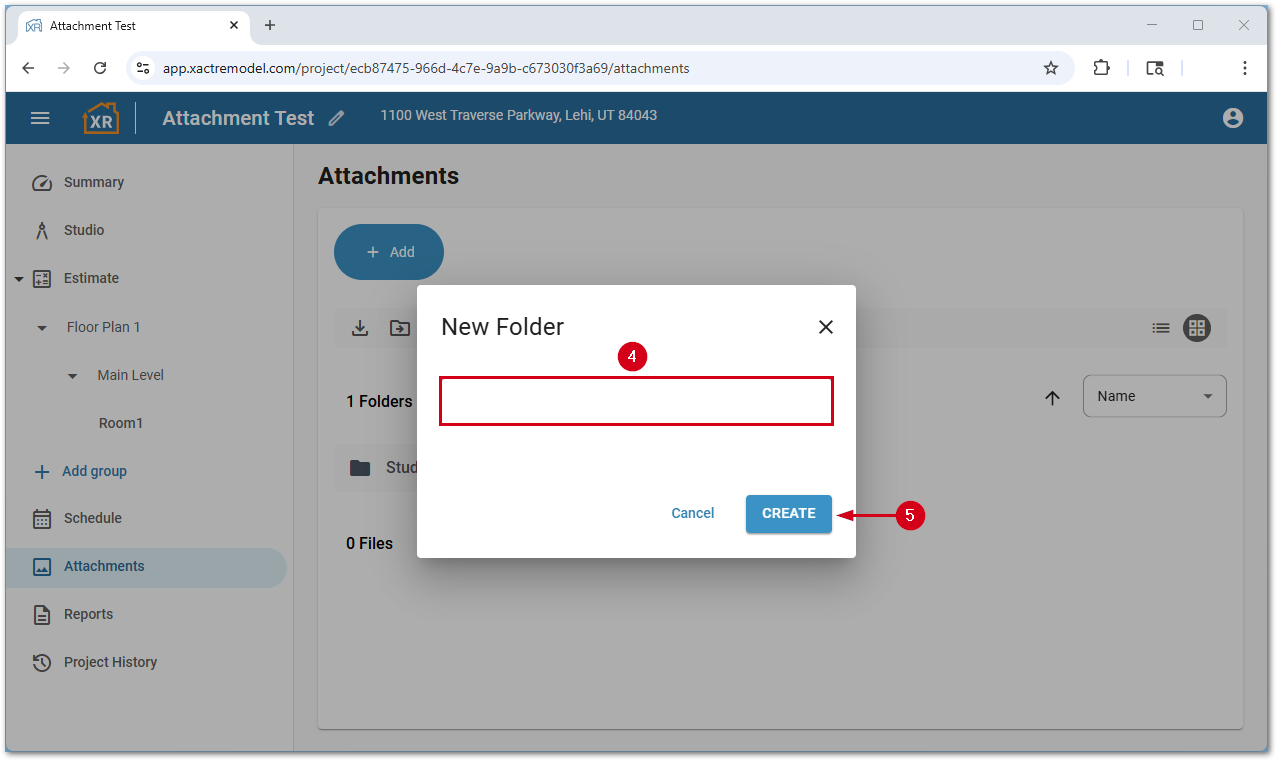
- Enter a folder name.
- Select Create.
Download a folder
Once a folder has been created, a .zip file can be downloaded with the contents of the folder.
- From within a project, select Files.
- Select the menu icon.
- Select Download.

The .zip file will be saved to the default downloads folder for the browser.
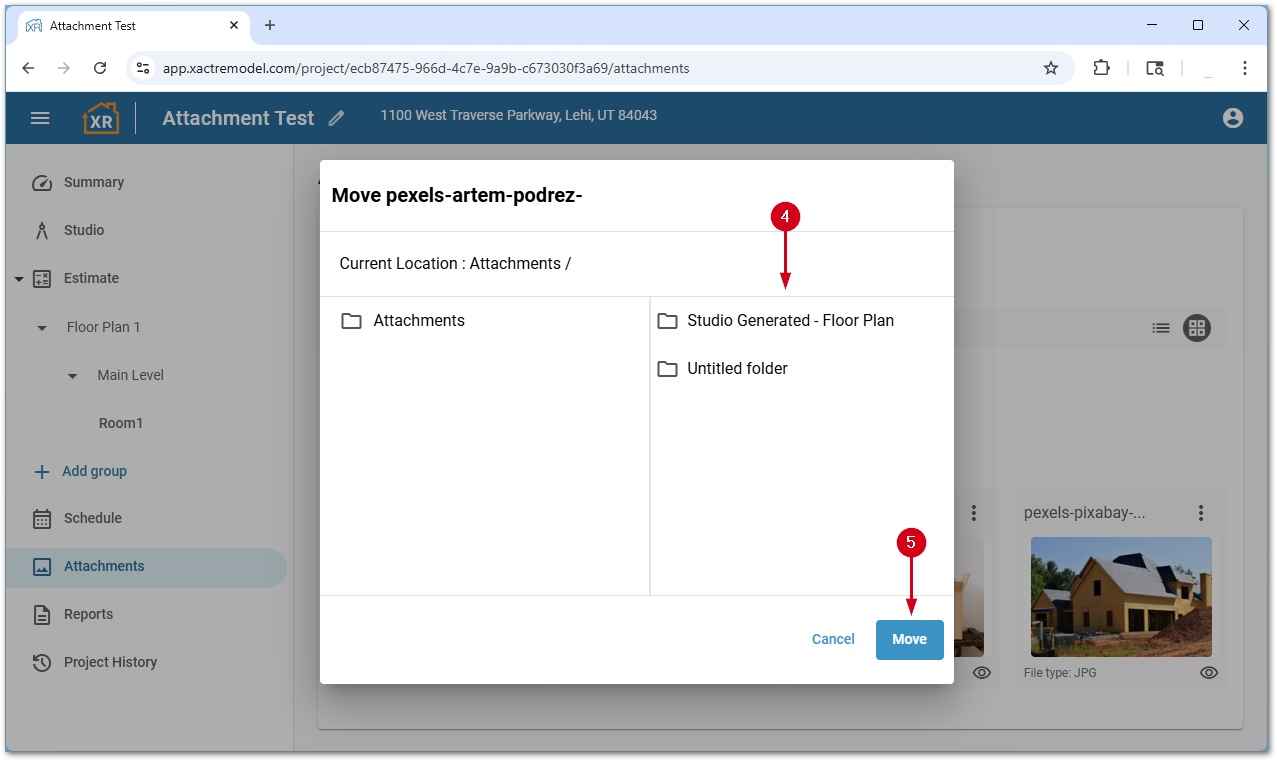
Move attachments into folders
Attachments can be moved between created folders and between the root and any custom folder.
Note: To view images in a folder, double-click the folder name.
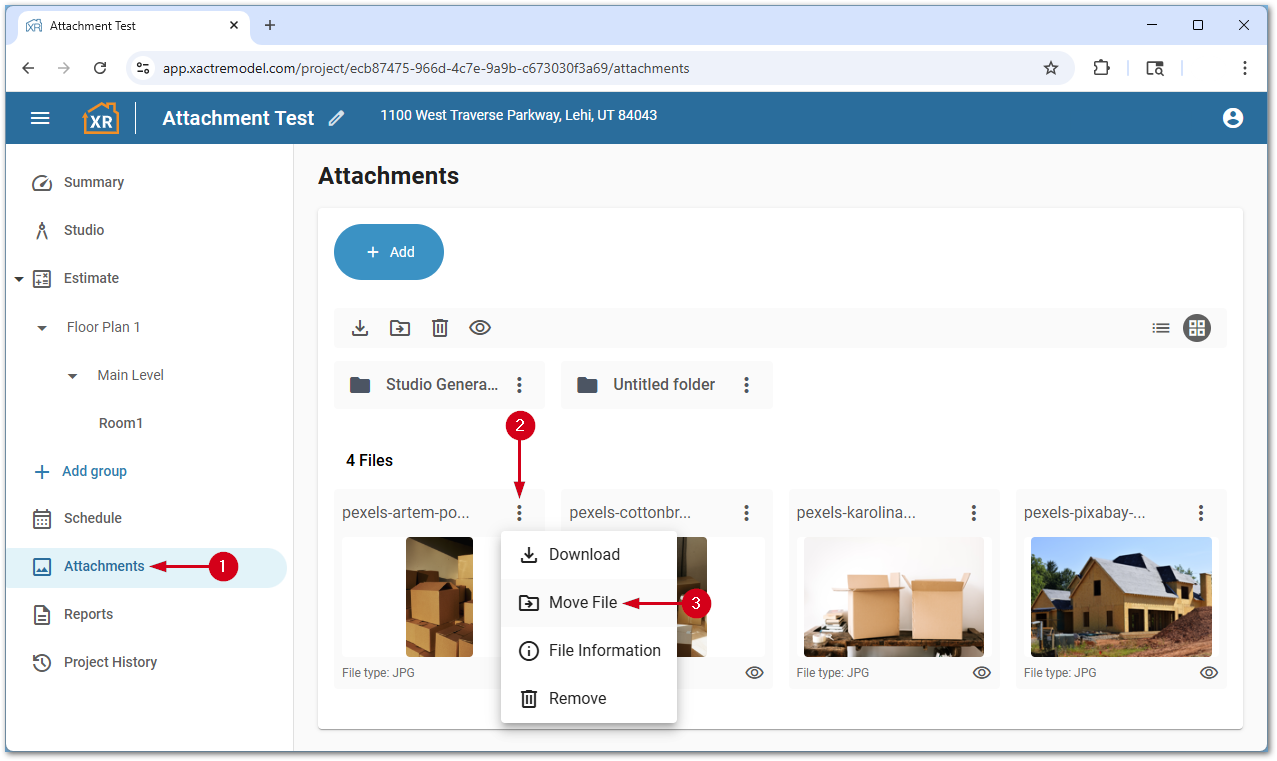
- From within a project, select Files.
- Select the menu icon next to the attachment to move.
Note: If you want to move more than one attachment at a time, select each attachment then use the move button in the blue navigation bar that appears above the attachments.- Select Move File.
- Select the desired folder to move the attachment into.
- Select Move.
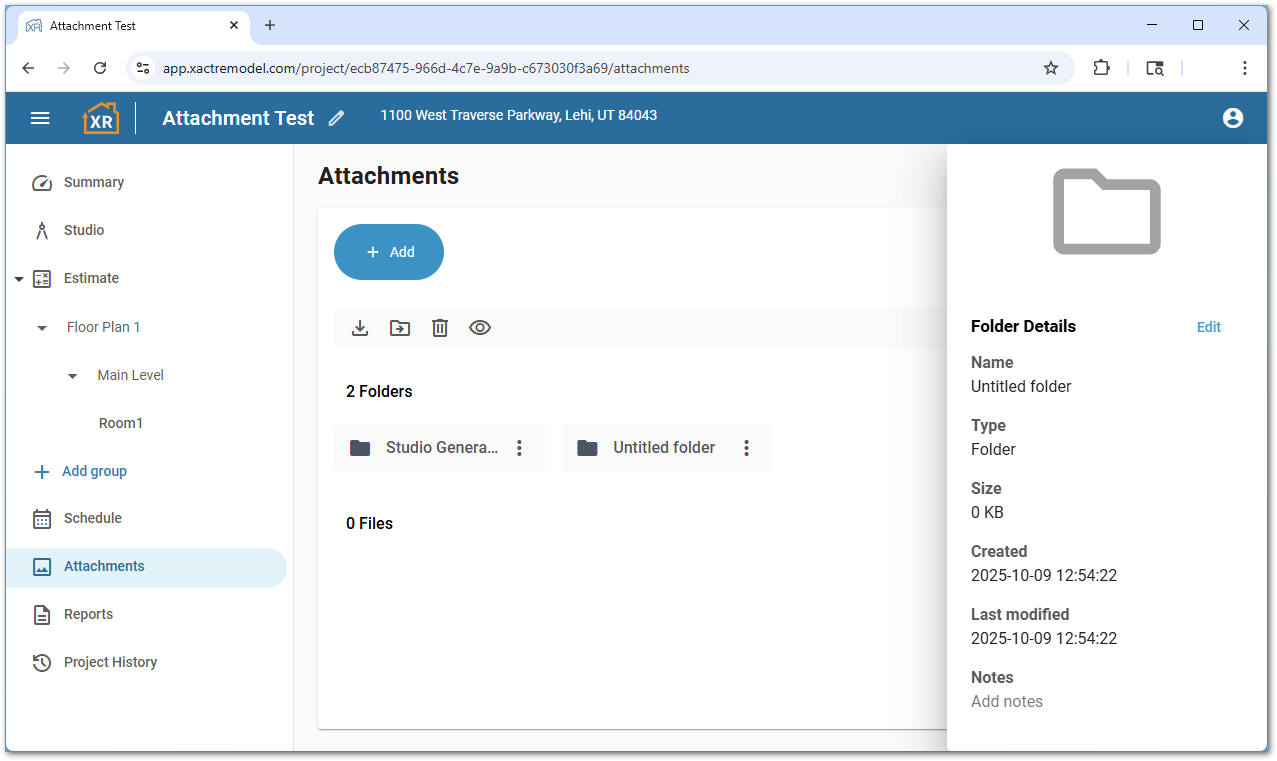
Folder information
Folder information can be used to rename a folder, see the number of attachments, the size of all the attachments, and add any notes about the attachments contained within the folder.
Note: The folder name and folder notes do not print on the Proposal report.
- From within a project, select Files.
- Select the menu icon next to the desired folder.
- Select Folder Information.

A drawer will pop out from the right side. Select Edit to make changes to the folder name or add notes.
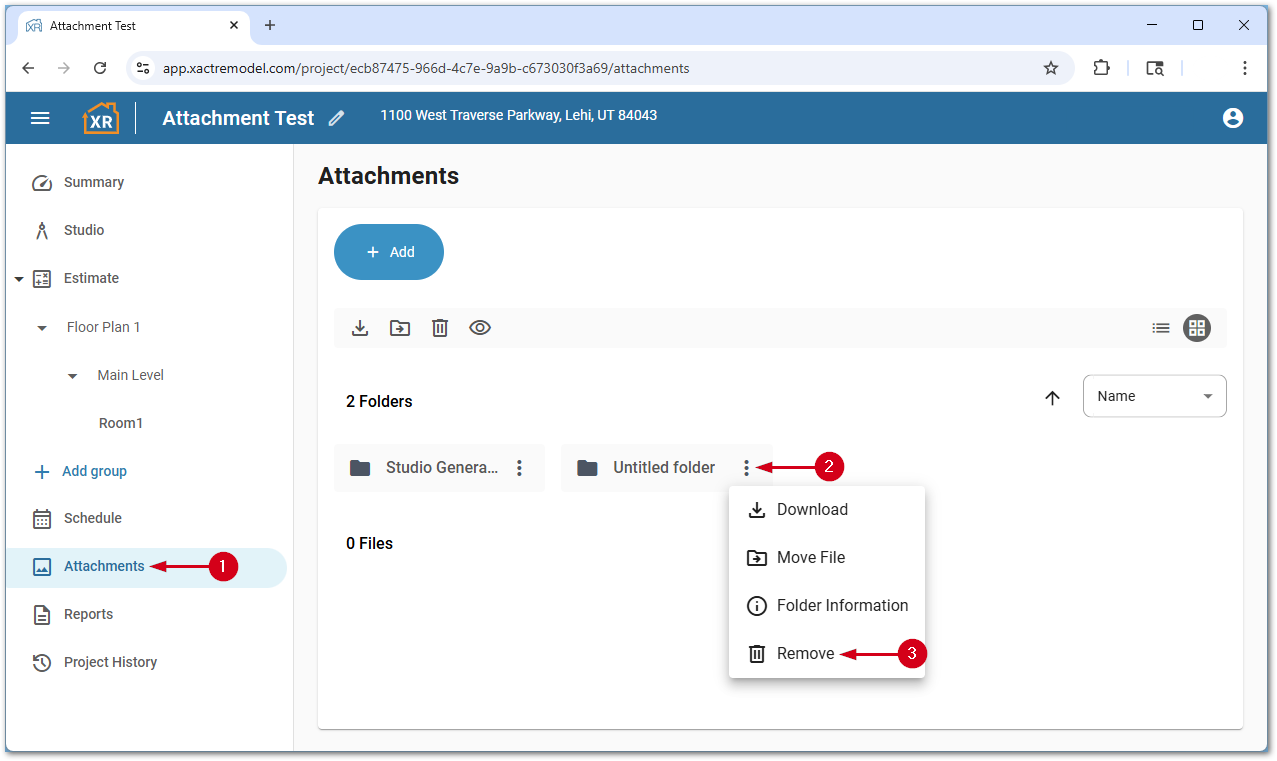
Delete folders
Custom folders can be deleted if desired.
CAUTION: Any attachments located within a folder are also deleted with the folder. Additionally, after the undo message disappears from the bottom of the page, the folder and any attachments are not recoverable.
- From within a project, select Files.
- Select the menu icon next to the desired folder.
- Select Remove.
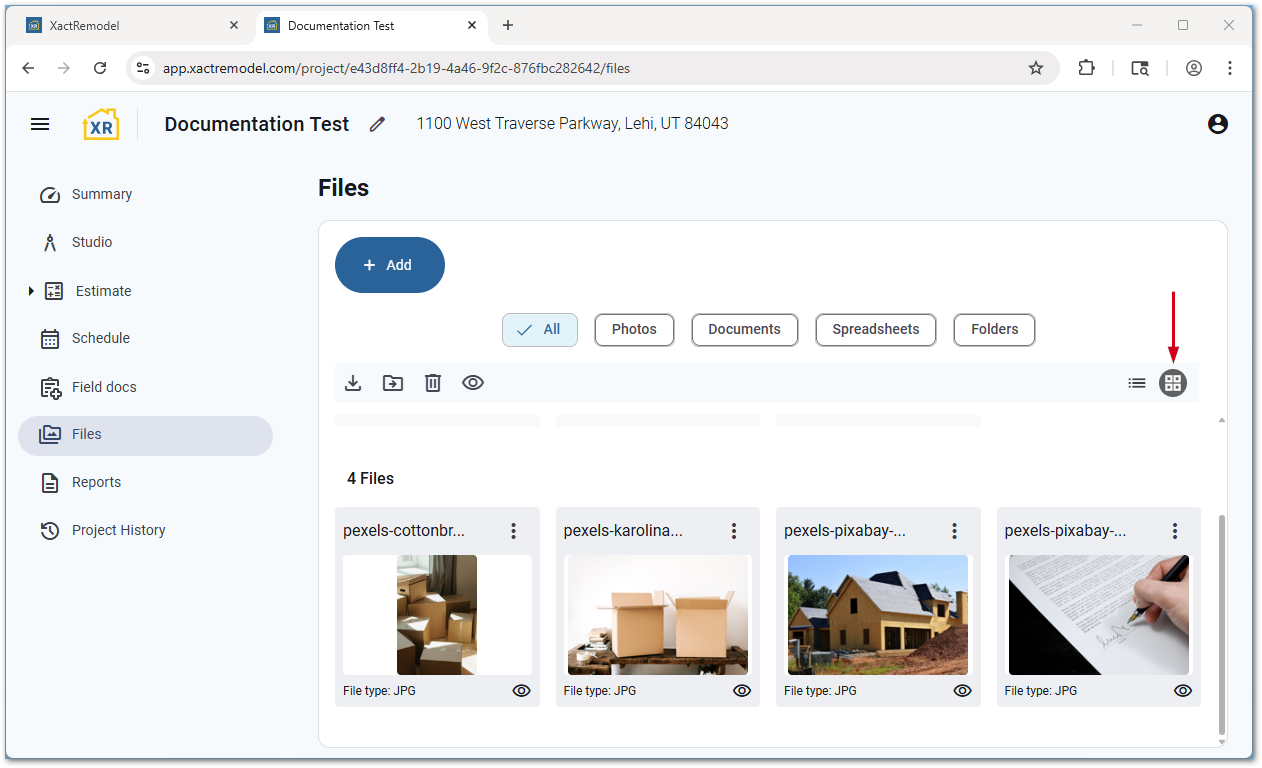
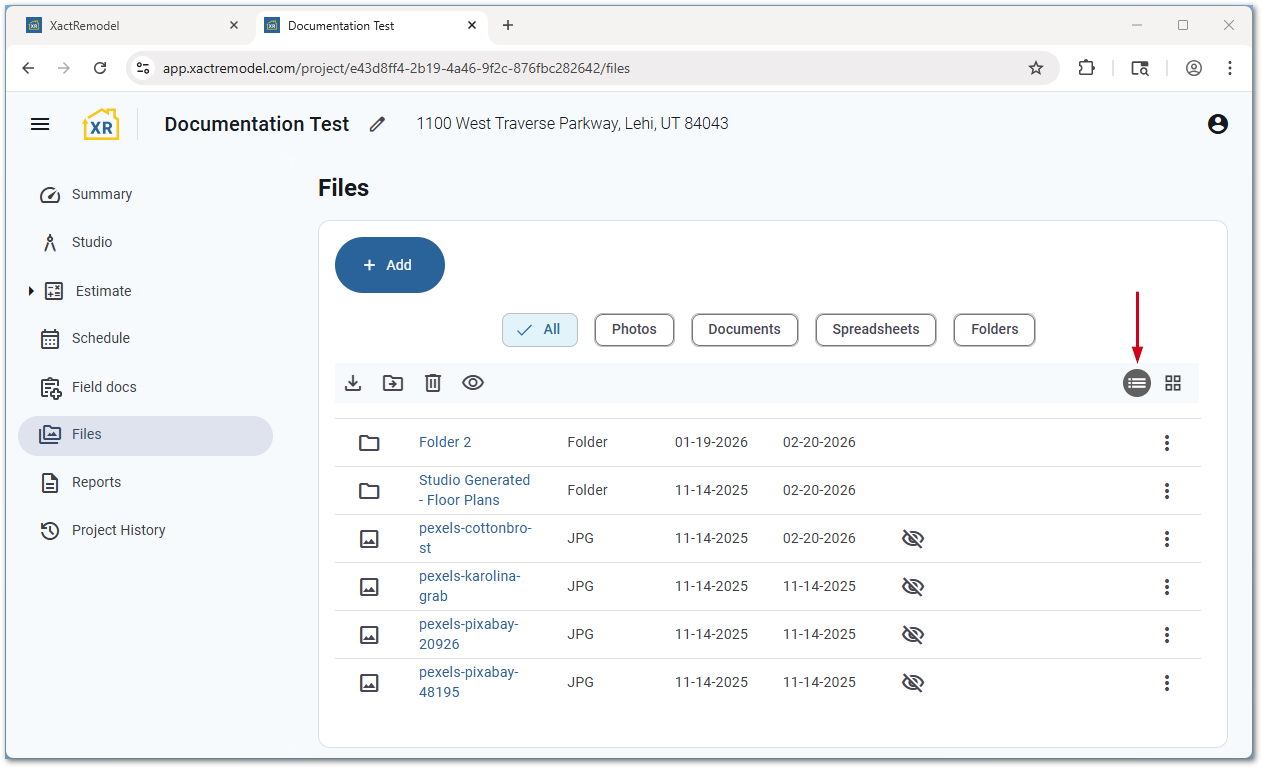
Switch views
Attachments can be viewed in two ways: as a list, or as a grid. Grid view is the default, but the view can be changed by selecting the appropriate button in the right corner of the files section.
Grid view:
List view:
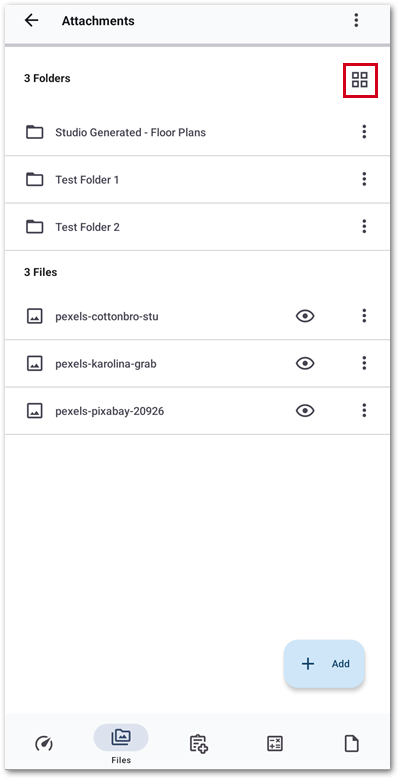
XR Mobile
Note: Folders cannot be added in the mobile application. Additionally, only photos can be attached to projects from the mobile application. The screenshots below are from an Android phone; however, the steps are similar on iPhones and iPads.Add new photos
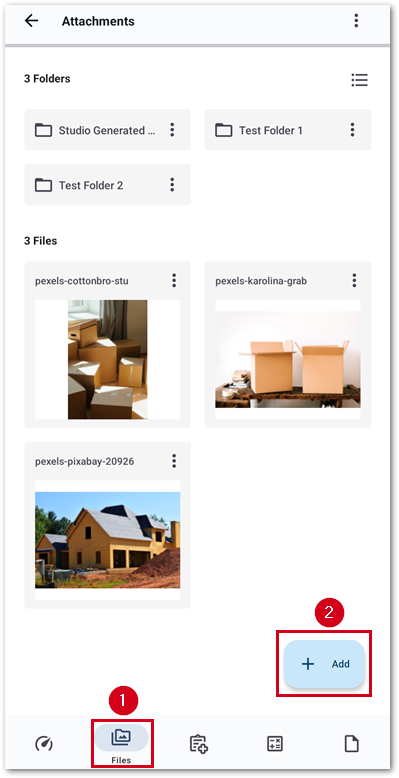
Photos can be added to projects in XR Mobile.
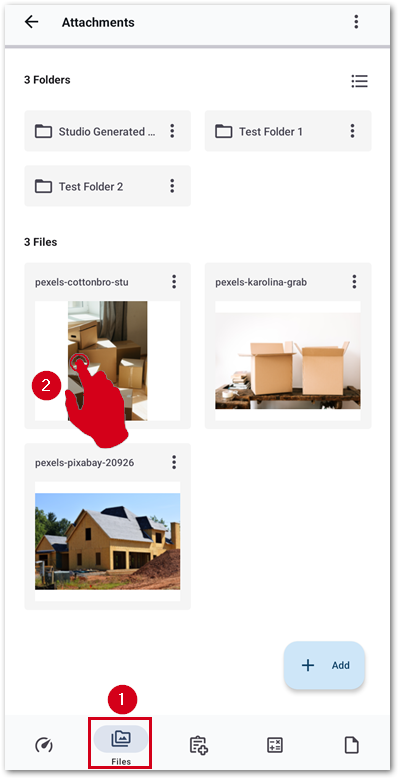
- From within a project, select the Files icon.
- Select the Add button.
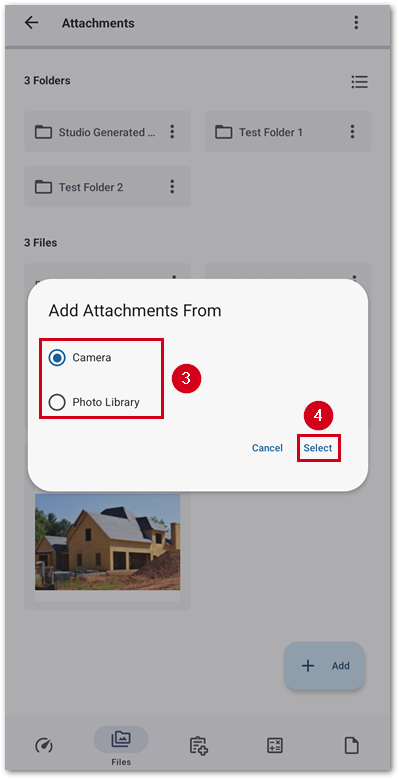
- Select Camera or Photo Library.
- Select Select
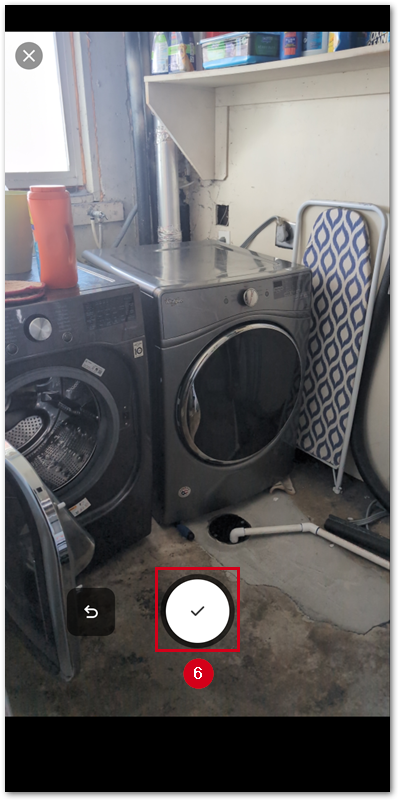
Note: The steps below will show adding photos from the camera directly. If prompted, allow the app to access the camera or storage.- Select the shutter button.
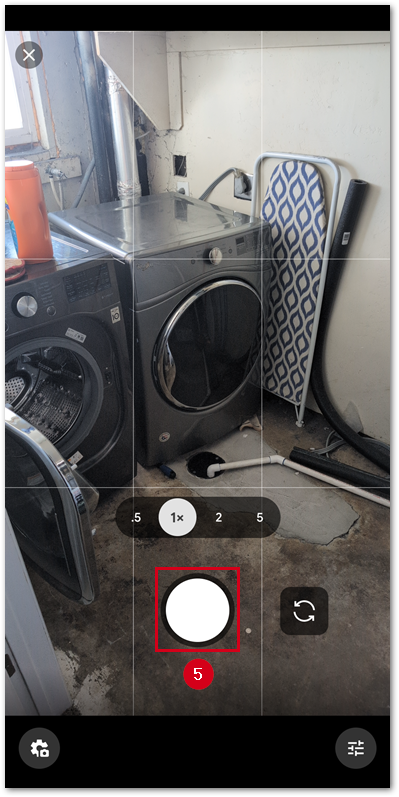
- Select the checkmark icon to save the photo. The photo will be added to the selected folder.
Edit photos
Photos can have their file name changed, and notes added about them.
- From within a project, select the Files icon.
- Select the file to edit.
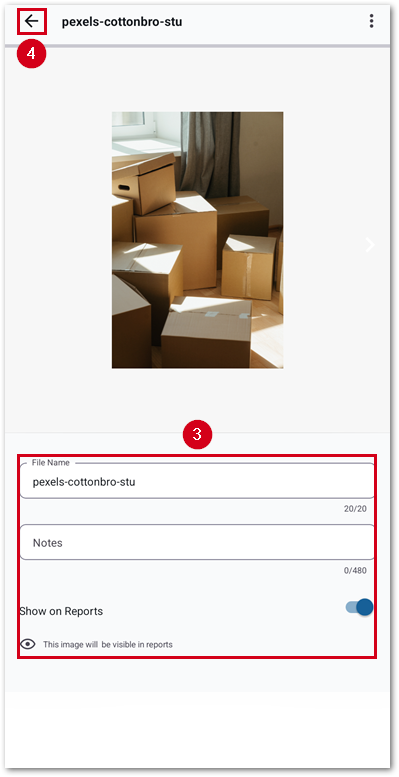
- Make any necessary changes.
- Select the back arrow to save and return to the files section.
Move photos into folders
Photos can be moved between created folders and between the root and any custom folder.
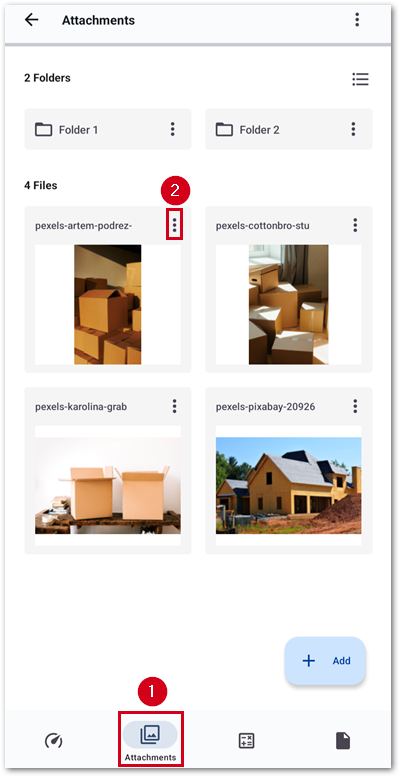
- From within a project, select the Files icon.
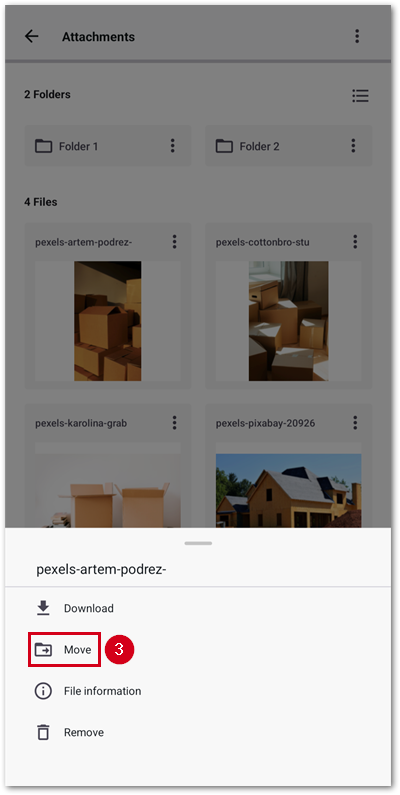
- Select the menu icon next to the photo to move.
Note: If the photo is already in a folder, open the folder first.- Select Move.
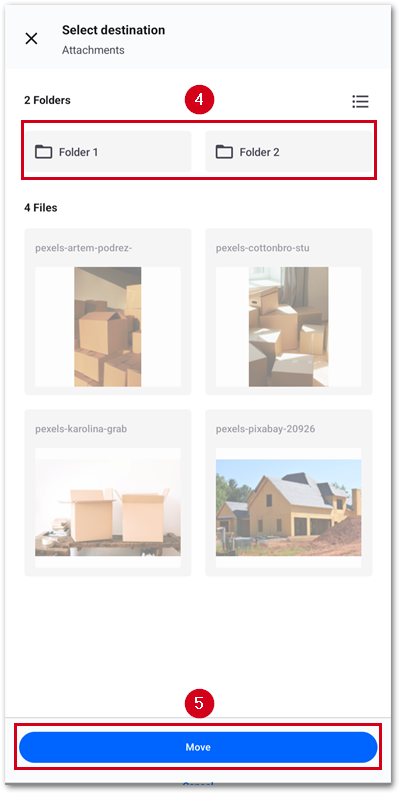
- Select the desired folder to move the photo into.
- Select Move.
Download a folder
Once a folder has been created, a .zip file can be downloaded with the contents of the folder.
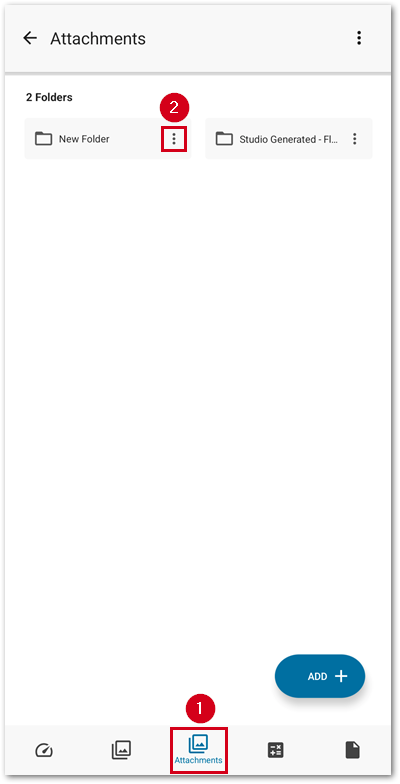
- From within a project, select the Files icon.
- Select the menu icon next to the folder to download.
- Select Download.
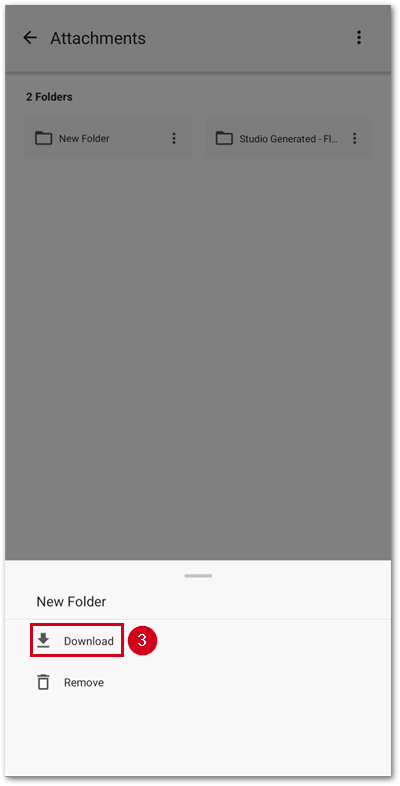
A share file screen will appear, allowing you to share the .zip file.
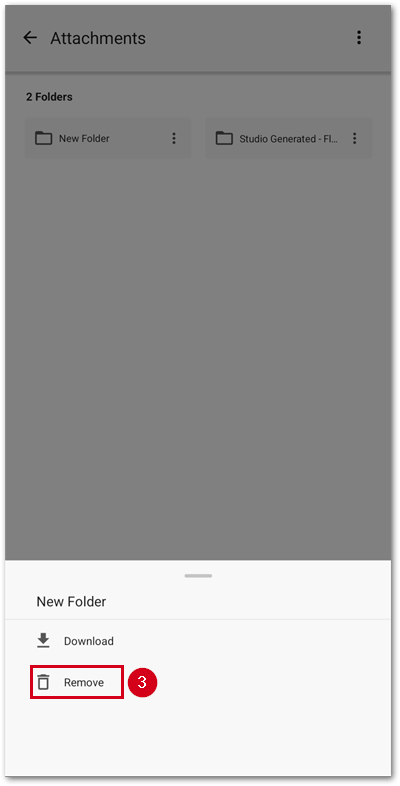
Delete folders
Custom folders can be deleted if desired.
- From within a project, select the Files icon.
- Select the menu icon next to the folder to delete.
- Select Remove.
Switch views
Photos can be viewed in two ways: as a list, or as a grid. Grid view is the default, but the view can be changed by selecting the button in the right corner of the files section.
Grid view:
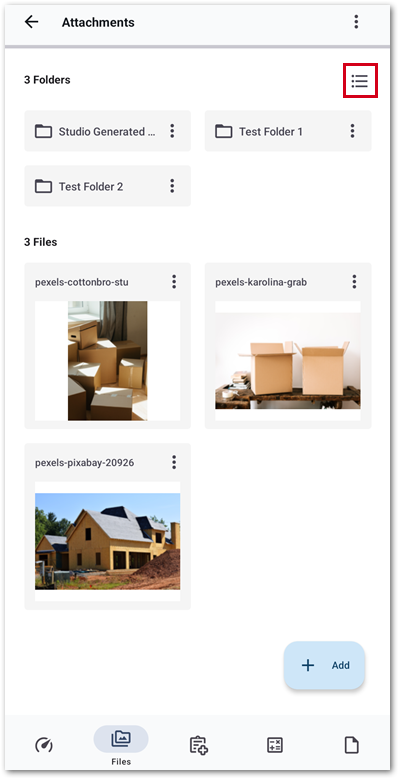
List view: