Share floor plans
 Updated
by Russell B.
Updated
by Russell B.
You can share floor plans sketched within the Studio feature in XactRemodel and XactRestore as part of a proposal report or separate image file.
Note: The sections below assume you have already completed a sketch in XactRemodel or XactRestore online.
Show or hide the floor plan in the proposal report
Download the floor plan as a separate attachment
Show or hide the floor plan in the proposal report
XactRemodel and XactRestore online
XactRemodel and XactRestore online
- From within the project, select Reports.
- Select Proposal.
Note: If desired, select an opening or closing statement before proceeding.

- In the options section, select or unselect Floor Plan Images.
Note: If the options section is not visible, select the menu icon in the top right corner of the page. Additionally, you may need to scroll down in the section to see the needed options.
- Select Apply.

XR Mobile
Note: The screenshots below are from an Android device; however, the process is similar on iOS and iPadOS.
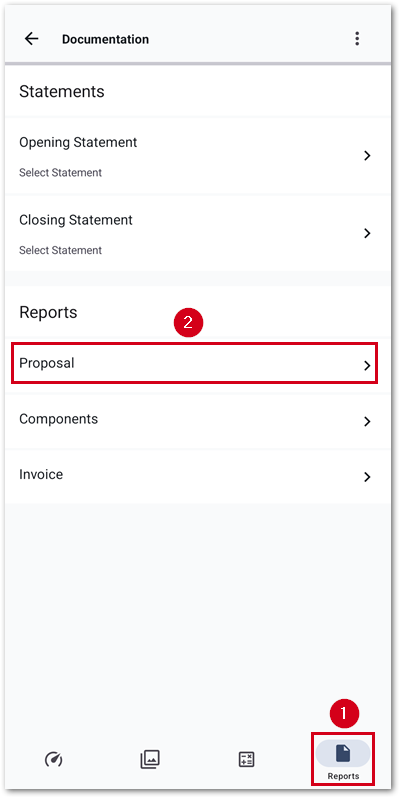
- From within a project, select Reports.
- Select Proposal.
Note: If desired, select an opening or closing statement before proceeding.
- Select the menu icon.
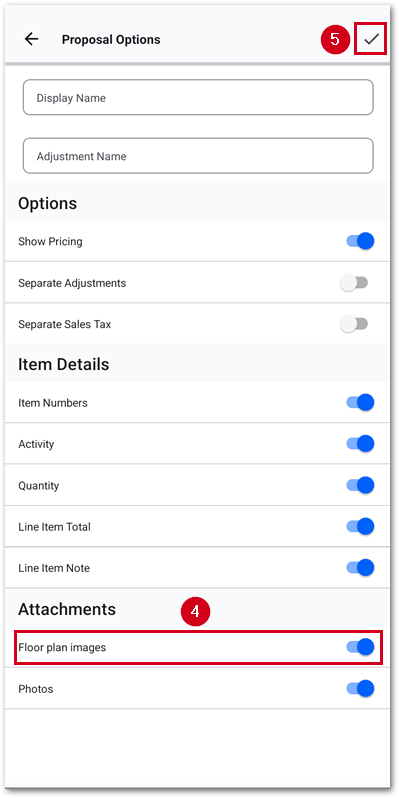
- Switch on or off Floor plan images.
- Select the checkmark icon to save and regenerate the report.

Download the floor plan as a separate attachment
XactRemodel and XactRestore online
XactRemodel and XactRestore online
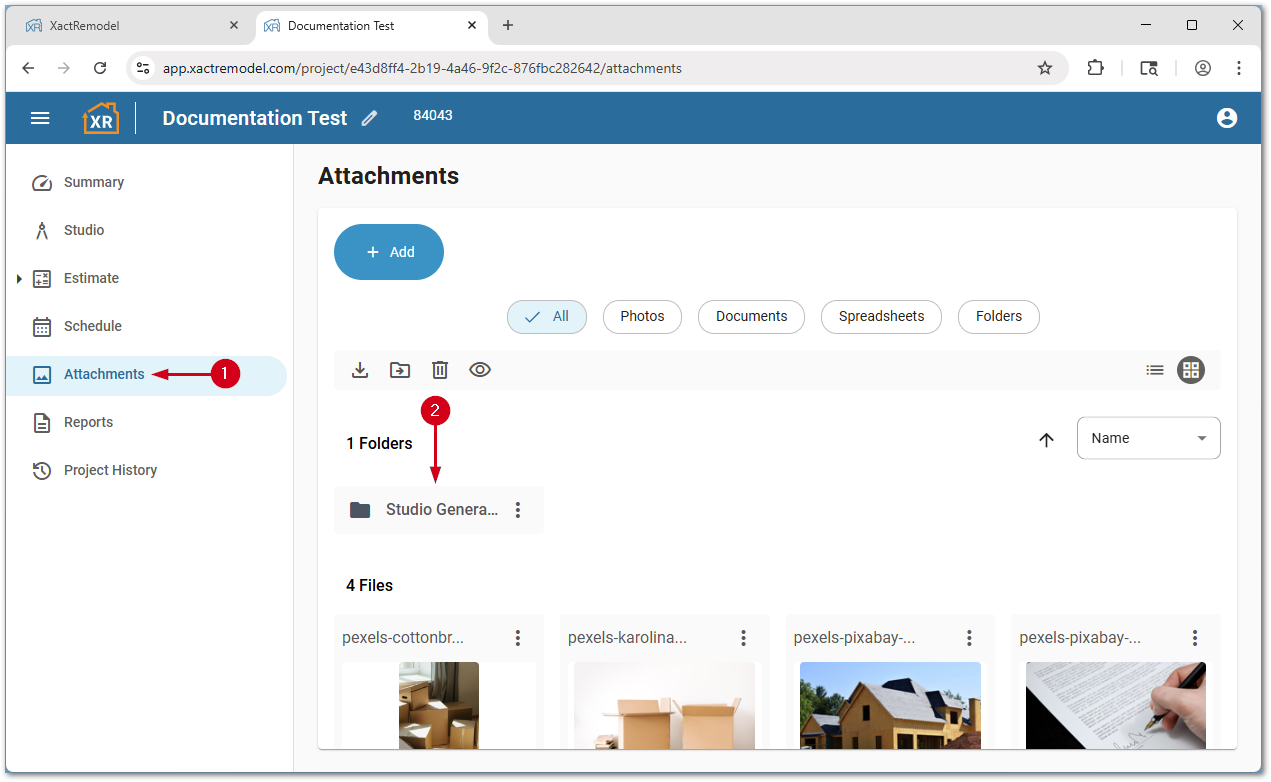
- From within a project, select Files.
- Double-click Studio Generated – Floor Plans.
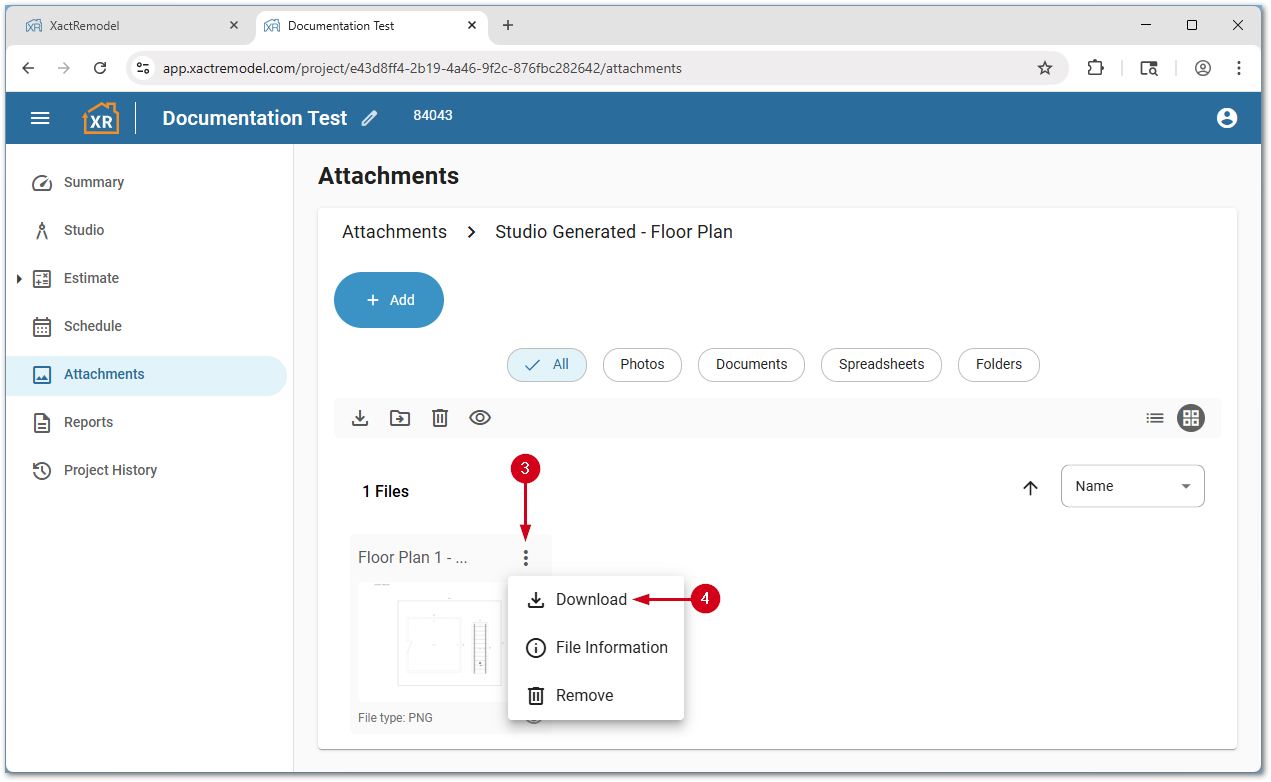
- Select the menu icon next to the desired floor plan picture.
- Select Download. A .png file saves to your default downloads folder.
XR Mobile
Note: The screenshots below are from an Android device; however, the process is similar on iOS and iPadOS.
- From within a project, select Files.
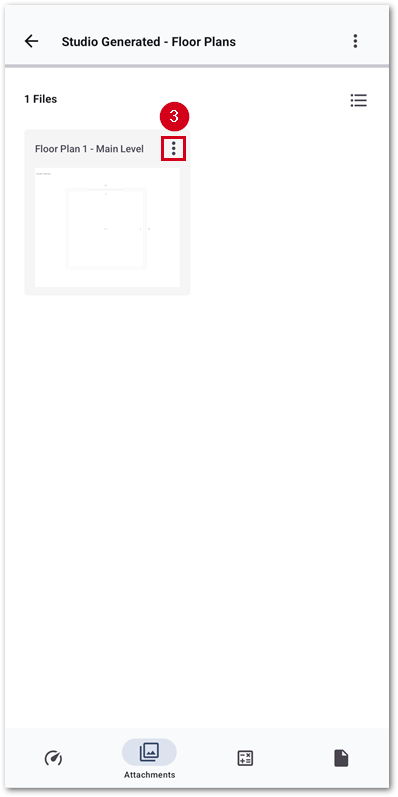
- Select Studio Generated – Floor Plans.
- Select the menu icon.
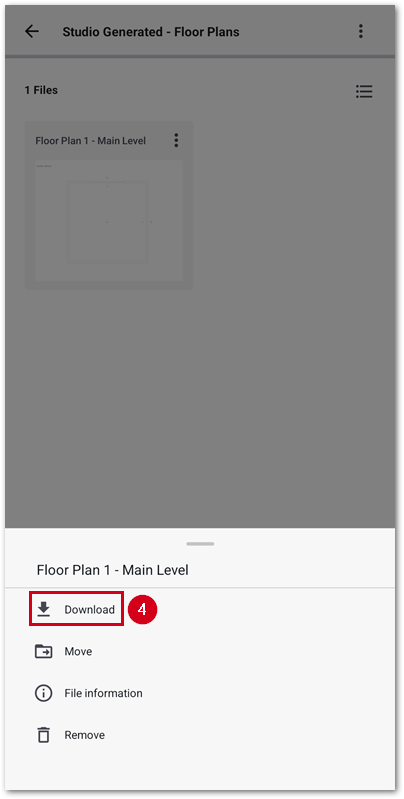
- Select Download. A .png file saves, and your phone file sharing page appears.