Getting Started
Frequently Asked Questions (FAQ)
System Requirements
Company Info
Add Company Markup
My Pricing
Line Item and Pricing Data
Create Report Statements
Create a Project
Contact Support
XactRemodel subscription levels
XactRemodel Mobile App
Unable to view Quick Estimates
Admin Users Control
Accounts and Contacts
Manage client and vendor Accounts in XactRemodel
Manage Contacts in XactRemodel
Associate projects with Accounts in XactRemodel
Projects
Project Overview
Project Summary
Duplicate a Project
Reprice an Estimate
Sending Projects to Direct Supplier
XactRemodel Mobile: Import Contacts
Project History
Restoring Deleted Projects
Groups
Line Items
Studio
Getting Started
About Studio
Share floor plan in XactRemodel
Building an Estimate
Import image as underlay
Level Properties
Multiple Floor Plans in Studio
Reference Objects
Tools
View Levels in 3D
Working with Levels
3D View
Rename a sketch in XactRemodel and XactRestore Studio
Framing in Studio
Rooms
Openings
Roofs
Add line items from within Studio
Scheduling
Schedule Work Week Setup
Adding Tasks to your Project Schedule
Company Schedule
Task Report in Scheduling
Schedule Views
Creating a Project Schedule with Auto-Scheduling
Attachments
Manage attachments in Proposal reports
Manage photos and documents in XactRemodel and XactRestore
Attachments
Reports
Integrations
Release Notes
January 2025 New Features
Upcoming Features
November 2024 New Features
June 2024 New Features
February 2024 New Features
2023 Release Notes
November 2023 New Features
September 2023 New Features
XactRemodel PRO Release
November 2025 New Features
Account management
How do I cancel or change my subscription?
Account Deletion
Subscribe to XactRemodel
Updating Account Info
Transferring from XactRemodel Desktop
Import projects from XactRemodel desktop
Transfer data from XactRemodel Desktop to Xactimate
Back up your data in XactRemodel Desktop
XactRestore
Table of Contents
- All Categories
- Projects
- Groups
- Adding Group Dimensions
Adding Group Dimensions
Updated
by Rose Gulley
Adding dimensions to a group will help you when adding line items. With dimensions added to a group, the quantities for line items are calculated based on the provided dimensions.
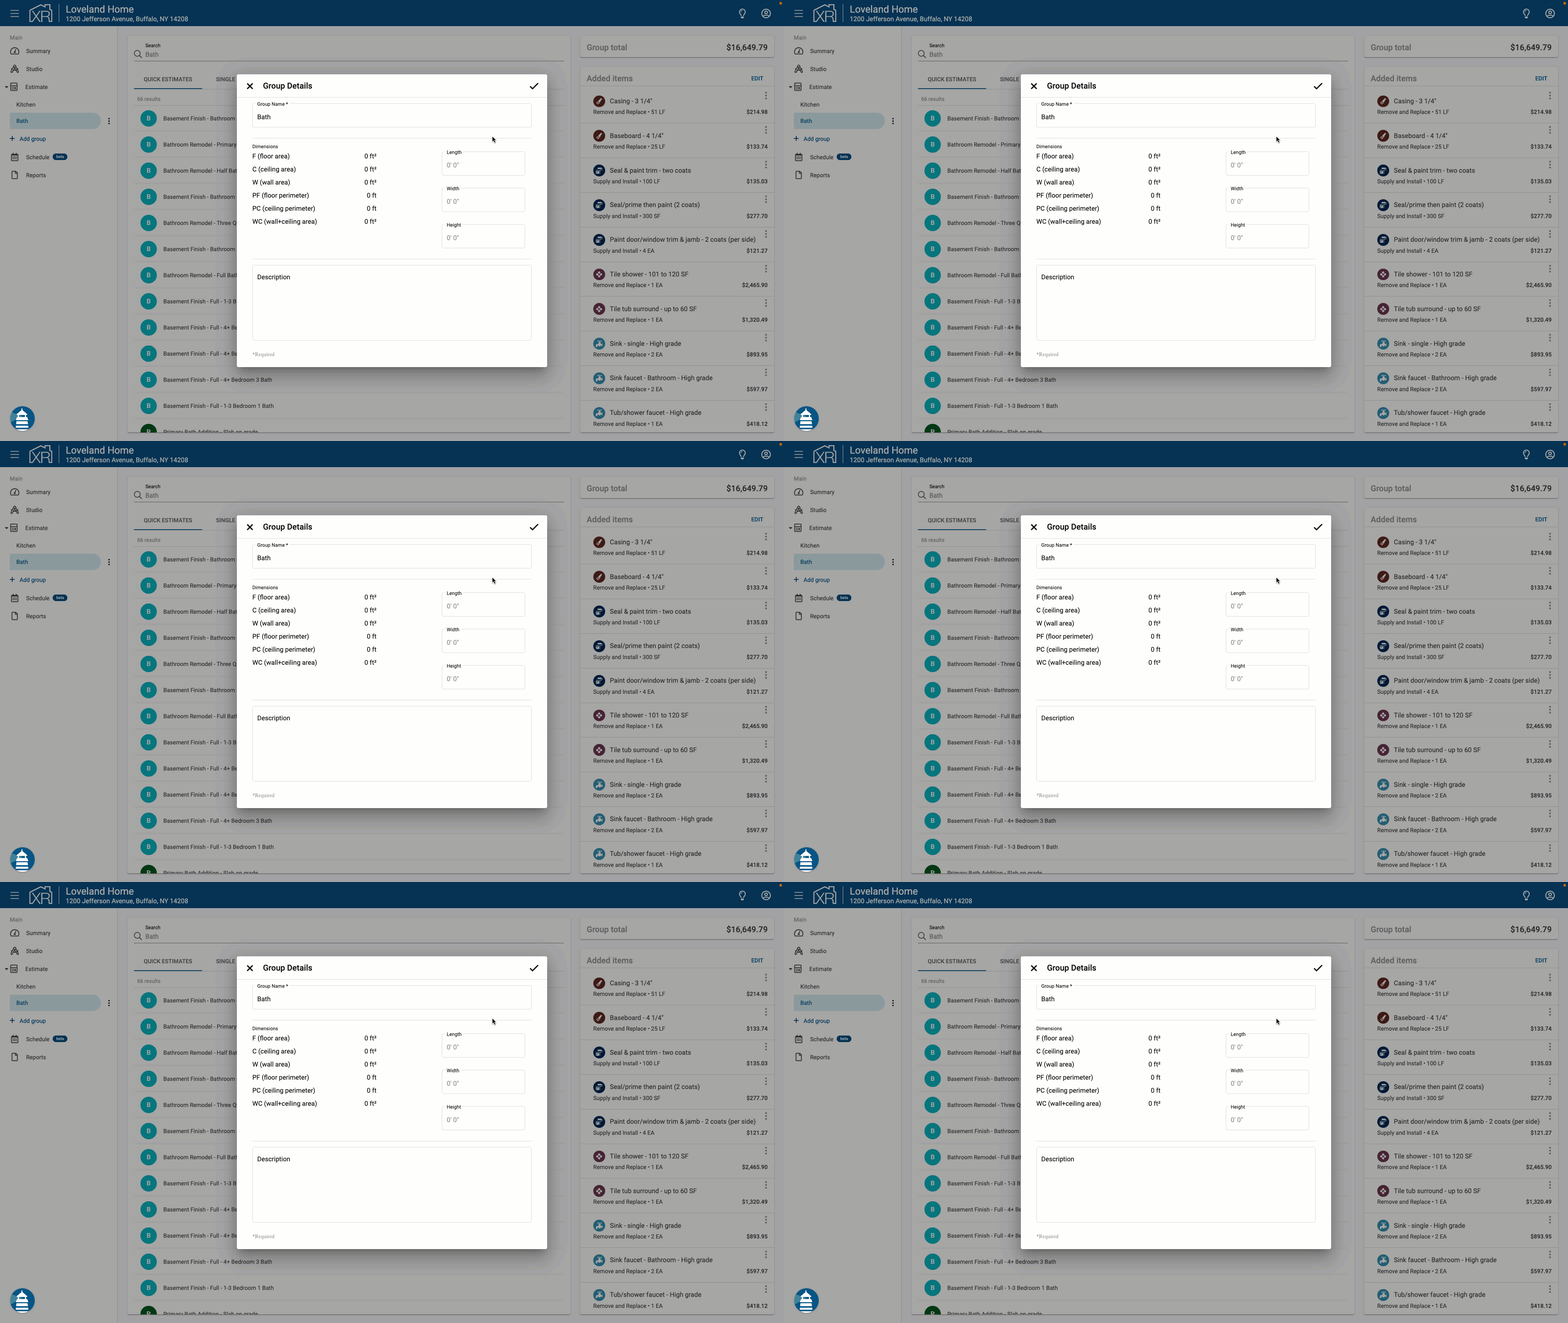
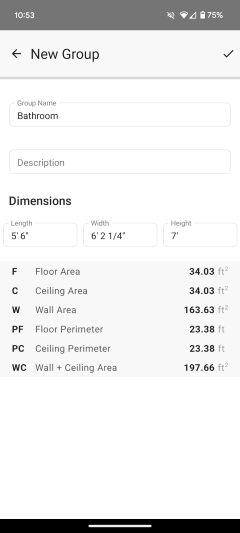
Within the group details, you can enter a length, a width, and a height for the room. XactRemodel will calculate the floor area, wall area, wall perimeter, and many other items.
On Web
- Open the group details by first opening a group and then click the info button next to the group name.
- Enter values in feet and inches for Length, Width, and Height.
- Save the changes by clicking the checkmark.

On Mobile
How to add dimensions for a new group:
- Open up your current project or create a new one.
- Tap on the estimate tab (calculator icon).
- Select "New Group".
- Enter values in feet and inches for Length, Width, and Height.
How to edit dimensions for an existing group:
- Open up your current project or create a new one.
- Tap on the estimate tab (calculator icon).
- Choose the group you wish to edit.
- Tap the three dots in the top right hand corner.
- Select "Edit group info".
- Enter values in feet and inches for Length, Width, and Height.

Valid dimension inputs
There are a variety of ways that are acceptable to input dimensions:
- Typical feet and inches notation: 5' 4"
- Decimal values: 5.5
- Fractions: 5' 4 1/4"
